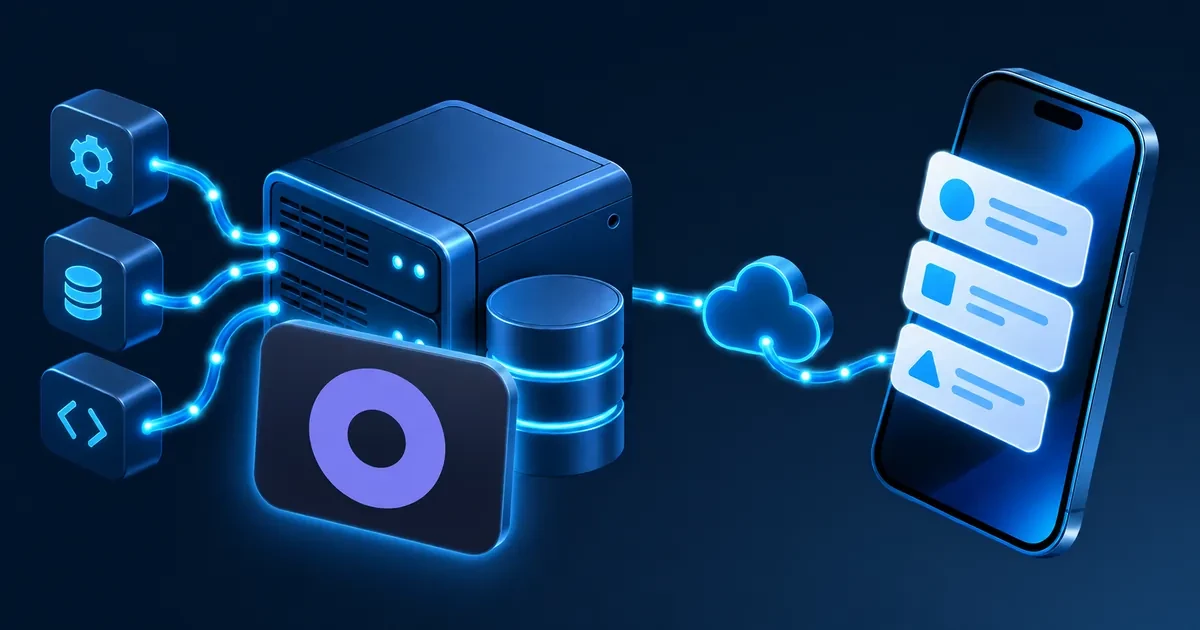
In short. Self-hosting Docmost with Docker means running three containers, the Docmost app, PostgreSQL, and Redis, behind an Nginx reverse proxy with HTTPS. The Docmost Docker setup takes under 20 minutes on a VPS with 4 GB RAM or more. You optionally point file attachments at S3-compatible Object Storage to keep the VPS disk clean. This guide covers the full stack: Docker Compose, HTTPS, and object storage for attachments.
Docmost is an open source Confluence alternative that also replaces most of what teams use Notion for: real-time collaborative editing, nested pages, and workspace permissions, running entirely on infrastructure you control. Getting Docmost self-hosted on your own VPS means your team’s documentation never touches a third-party server, with no per-seat licensing. This guide goes past a bare install: it adds a production-ready reverse proxy with HTTPS and S3-compatible attachment storage, so the result is a deployable setup rather than a local test.
Prerequisites
A Docmost Docker deployment needs a few things in place before a self-hosted instance is ready for real use:
- A VPS with at least 2 vCPU and 4 GB RAM. Below that, PostgreSQL and Redis compete with the app container for memory under real usage. A Contabo Cloud VPS 20 (6 vCPU cores, 12 GB RAM, €6.00/mo) comfortably covers the full stack with headroom for growth.
- Ubuntu 22.04 or 24.04.
- Root or sudo SSH access.
- A domain or subdomain pointed at your VPS’s IP address. This is required for Step 3, since Docmost’s real-time features depend on HTTPS working correctly.
- Optional: an S3-compatible Object Storage bucket (Contabo Object Storage works) if you want attachments off the VPS disk from day one.
Step 1: Install Docker and Docker Compose for Docmost
Ubuntu’s default package repository carries an older Docker version, so this installs directly from Docker’s official repository instead, which keeps Compose and the Docker engine on the current stable release.
sudo apt update && sudo apt upgrade -y
sudo apt install -y ca-certificates curl
sudo install -m 0755 -d /etc/apt/keyrings
sudo curl -fsSL https://download.docker.com/linux/ubuntu/gpg -o /etc/apt/keyrings/docker.asc
sudo chmod a+r /etc/apt/keyrings/docker.asc
echo \
   "deb [arch=$(dpkg --print-architecture) signed-by=/etc/apt/keyrings/docker.asc] https://download.docker.com/linux/ubuntu \
   $(. /etc/os-release && echo "$VERSION_CODENAME") stable" | \
   sudo tee /etc/apt/sources.list.d/docker.list > /dev/null
sudo apt update
sudo apt install -y docker-ce docker-ce-cli containerd.io docker-compose-plugin
Verify the installation:
docker compose version A version number confirms Docker Compose is ready for the Docmost stack.
Step 2: Create the Docmost Docker Compose Stack
The Docmost Docker stack runs three services: the Docmost application, PostgreSQL for data, and Redis for real-time collaboration state. This is the core of any self-hosted Docmost deployment, whether it runs on a single small VPS or a larger production server. PostgreSQL stores every page, user account, and permission setting. Redis handles the pub/sub messaging that keeps multiple editors in sync, so it is not optional even for a single-user setup. Docker Compose defines all three as one unit, starting and stopping the whole stack together instead of three separate docker run commands.
Create a project directory and the Compose file:
mkdir -p ~/docmost && cd ~/docmost
nano docker-compose.yml
Paste the following, replacing the placeholder values with your own domain and generated secrets:
services:
   docmost:
     image: docmost/docmost:latest
     depends_on:
       - db
       - redis
     environment:
       APP_URL: "https://your-domain.com"
       APP_SECRET: "replace-with-a-long-random-string"
       DATABASE_URL: "postgresql://docmost:your-db-password@db:5432/docmost"
       REDIS_URL: "redis://redis:6379"
     ports:
       - "3000:3000"
     restart: unless-stopped
     volumes:
       - docmost_storage:/app/data/storage

  db:
     image: postgres:18
     environment:
       POSTGRES_USER: docmost
       POSTGRES_PASSWORD: your-db-password
       POSTGRES_DB: docmost
     volumes:
       - docmost_db_data:/var/lib/postgresql
     restart: unless-stopped

  redis:
     image: redis:8
     command: ["redis-server", "--appendonly", "yes", "--maxmemory-policy", "noeviction"]
     volumes:
       - docmost_redis_data:/data
     restart: unless-stopped

volumes:
   docmost_storage:
   docmost_db_data:
   docmost_redis_data:
Generate a secure APP_SECRET with openssl rand -hex 32. Docmost requires this value to be at least 32 characters. It signs session tokens and encrypts sensitive fields, so it needs to be long, random, and never reused across environments. Do the same for the database password.
Email is optional and only needed to send workspace invitations. It requires SMTP or Postmark configuration covered in Docmost’s own configuration docs, so the compose file above omits it.
Step 3: Configure HTTPS with Nginx
Docmost listens on port 3000 by default with no built-in TLS, which matters for any self-hosted deployment reachable from the public internet. Nginx sits in front of the container, terminates TLS, and forwards requests internally, which is the standard pattern for exposing a containerized app to the internet safely.
Install Nginx and Certbot:
sudo apt install -y nginx certbot python3-certbot-nginx Create a server block for your domain:
sudo nano /etc/nginx/sites-available/docmost Add the following, replacing your-domain.com with your actual domain:
server {
     listen 80;
     server_name your-domain.com;

    location / {
         proxy_pass http://localhost:3000;
         proxy_http_version 1.1;
         proxy_set_header Upgrade $http_upgrade;
         proxy_set_header Connection "upgrade";
         proxy_set_header Host $host;
         proxy_set_header X-Real-IP $remote_addr;
         proxy_set_header X-Forwarded-For $proxy_add_x_forwarded_for;
         proxy_set_header X-Forwarded-Proto $scheme;
     }
}
The Upgrade and Connection headers are required for Docmost’s real-time collaboration feature, which runs over WebSockets. Without them, the page editor loads but stays read-only.
Enable the site and request a certificate:
sudo ln -s /etc/nginx/sites-available/docmost /etc/nginx/sites-enabled/
sudo certbot --nginx -d your-domain.com
sudo systemctl reload nginx
Certbot rewrites the server block to redirect HTTP to HTTPS automatically and sets up auto-renewal.
Step 4: Start Docmost with Docker and Complete Setup
Start the Docmost Docker stack:
docker compose up -d Watch the logs while the containers initialize:
docker compose logs -f Wait for the Docmost service to report it is listening, then open https://your-domain.com in a browser. Create your admin account and first workspace on the setup screen that appears. This account has full workspace permissions, so use a strong password.
To confirm all three containers are healthy, run:
docker compose ps Each service should show a status of running or healthy. Once your workspace is created, invite teammates from the admin settings. Each invited member gets their own login, and the same real-time editing access you just tested.
Step 5 (Optional): Connect Contabo Object Storage for Attachments
By default, Docmost stores uploaded files on the container filesystem. Pointing your Docmost Docker deployment at S3-compatible Object Storage decouples file storage from the server entirely, which means a server migration or disk resize no longer needs to account for years of accumulated attachments. This is one of the details that separates a self-hosted knowledge base test install from a production deployment.
Add the following environment variables to the docmost service in docker-compose.yml:
      STORAGE_DRIVER: "s3"
       AWS_S3_BUCKET: "your-bucket-name"
       AWS_S3_ENDPOINT: "https://eu2.contabostorage.com"
       AWS_S3_REGION: "default"
       AWS_S3_ACCESS_KEY_ID: "your-access-key"
       AWS_S3_SECRET_ACCESS_KEY: "your-secret-key"
       AWS_S3_FORCE_PATH_STYLE: "true"
The endpoint hostname follows the region prefix Contabo uses (eu2 for the European region shown here). Use the hostname shown in your own Object Storage panel if you provisioned a different region. The AWS_S3_REGION value stays default regardless of which regional endpoint you use, matching the configuration examples Contabo publishes for S3-compatible tools. AWS_S3_FORCE_PATH_STYLE is required for most S3-compatible providers, Contabo included.
Restart the stack to apply the change:
docker compose up -d New attachments now upload directly to Object Storage. Existing local files stay on disk unless you migrate them manually.
Troubleshooting
A handful of issues account for most failed Docmost Docker deployments:
- Container exits immediately after
docker compose up -d. Checkdocker compose logs docmostfor a database connection error first. This almost always traces to a typo inDATABASE_URLor aPOSTGRES_PASSWORDmismatch between thedocmostanddbservice blocks.
- Nginx returns a 502 Bad Gateway. Confirm the Docmost container is actually running with
docker compose ps. A 502 means Nginx cannot reach port 3000, usually because the container crashed or is still starting.
- Certbot fails to issue a certificate. This is almost always DNS. Confirm your domain’s A record points at the VPS IP with
dig your-domain.com, and wait for propagation before retrying.
- Real-time collaboration doesn’t work, and the editor loads but stays read-only. Docmost’s own documentation confirms this exact symptom means the reverse proxy isn’t forwarding the Upgrade and Connection headers from Step 3.
- File uploads fail after switching to Object Storage. Double-check
AWS_S3_BUCKETandAWS_S3_ENDPOINTfor typos, and confirm the access key has writing permissions on that specific bucket. A missingAWS_S3_FORCE_PATH_STYLE: “true” also causes silent upload failures with Contabo and most other S3-compatible providers.
Keeping Your Self-Hosted Docmost Updated
Pull the latest image and recreate the containers:
cd ~/docmost
docker compose pull
docker compose up -d
Verify the running version in the admin panel after the containers restart. Check the Docmost release notes before a major version bump, since schema migrations occasionally require a manual step that a minor update does not. A database backup before a major update, using the pg_dump command from the FAQ below, costs one command and gives you a clean rollback point.
Keeping a self-hosted Docmost instance current is otherwise low effort: the update itself is two commands, and the persistent volumes in Step 2 mean the database, cache, and attachments all survive the restart untouched.
FAQ: Self-Hosted Docmost
How much RAM does Docmost need?
Docmost, PostgreSQL, and Redis together run comfortably on 4 GB of RAM for small to mid-sized teams. A 2 GB VPS works for light testing but leaves little headroom under real usage. For a production workspace with regular concurrent editing, 8 GB or more gives PostgreSQL room to cache effectively without swapping.
Can I use Docmost without a domain?
Yes, for testing. You can access Docmost over HTTP using the server’s IP address and port 3000 directly, without any domain or Nginx setup. Real-time collaboration and any feature depending on secure cookies will not work correctly without HTTPS, though. A domain and a reverse proxy are required for a usable production deployment.
How do I back up Docmost data?
Back up the PostgreSQL data volume, since it holds all workspace content, users, and permissions. Run docker compose exec db pg_dump -U docmost docmost > backup.sql on a schedule, and store the output somewhere off the VPS, such as a separate server or Object Storage bucket. If you use Object Storage for attachments, that data is already stored separately from the server.
Does Docmost support S3 storage?
Yes. Setting STORAGE_DRIVER=s3 along with the bucket, endpoint, region, and credential variables (AWS_S3_BUCKET, AWS_S3_ENDPOINT, AWS_S3_REGION, AWS_S3_ACCESS_KEY_ID, AWS_S3_SECRET_ACCESS_KEY) redirects new file uploads to any S3-compatible provider, including Contabo Object Storage. This keeps attachments off the VPS disk and makes them easier to back up independently of the database. The change applies only to new uploads going forward.