Running an online store is a labor of love, but it often feels like you’re drowning in manual tasks. Between processing orders, updating stock levels, sending shipping notifications, and following up with customers, there’s barely enough time to focus on actually growing your business. As your store grows, these manual processes can become a bottleneck that actively prevents you from scaling. This is where automation comes in, and this n8n e-commerce guide will show you how to get started.
Whether you’re using Shopify, WooCommerce, or another platform, n8n can act as the central nervous system for your entire operation. It allows you to connect all your tools and build powerful workflows that handle the repetitive work for you. From n8n Shopify automation to n8n WooCommerce workflows and streamlined n8n inventory management, this guide will provide practical, actionable steps to automate your business. It’s time to stop working in your business and start working on it.
Why E-commerce Businesses Need Automation: Scaling with n8n
For a small but growing n8n e-commerce business, n8n automation isn’t just a “nice-to-have”. It’s a huge boost when it comes to scaling. When you’re processing a handful of orders a day, manually updating a spreadsheet or sending a few emails is manageable. But when that number grows to dozens or hundreds, the manual approach quickly leads to costly errors, frustrated customers, and a burned-out team.
Here’s why automation is so useful:
- Eliminate Human Error: Every manual data entry is an opportunity for a mistake. It could be a mistyped address, an incorrect stock update, or a forgotten shipping notification. Automation removes the human element from these repetitive tasks. It ensures that data is consistent and accurate across all your systems, from your storefront to your accounting software.
- Improve Customer Experience: In today’s market, speed and communication are everything. Automation allows you to be faster and more proactive. Orders can be processed instantly, 24/7. Shipping notifications can be sent the moment a label is created, not hours later. Personalized follow-up emails can be triggered automatically. This speed and consistency builds trust and loyalty, turning one-time buyers into repeat customers.
- Focus on Growth and Agility: The true n8n ROI (return on investment) comes from freeing up your most valuable resource: your time. When your automation is on point, you and your team can stop managing repetitive tasks and start focusing on marketing, product development, and strategy. It also makes your business more agile. You can automatically update pricing across platforms in response to a competitor, run flash sales, or adjust shipping rules without manual intervention.
Automation is about replacing manual work as much as unlocking new capabilities. With automation, businesses can implement real-time inventory updates across multiple sales channels, enabling true multi-channel selling without the fear of overselling. It also helps with compliance, automatically recording transactions and communications for audit trails, which, as every business owner knows, is especially important for tax season.
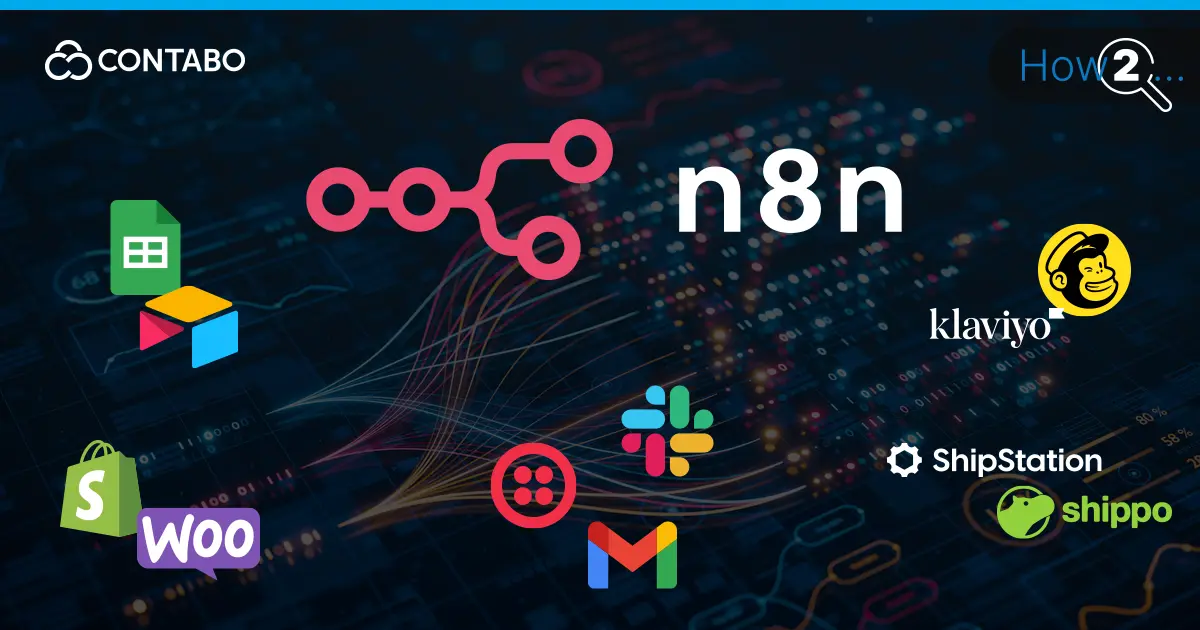
Core n8n Integrations: Connecting with Shopify and WooCommerce
The vast library of n8n integrations allows you to connect your e-commerce platform to all the other tools you use. Getting started with the two most popular platforms is straightforward.
n8n Shopify Automation
You’ll find a dedicated Shopify node in n8n that makes connecting your store simple.
- In your Shopify Admin, go to Apps and sales channels > Develop apps > Create an app.
- Give your app a name (e.g., “n8n Integration”) and configure the Admin API scopes. Select only the permissions you need, such as
read_orders,write_products, andread_customers. - Install the app and go to the API credentials tab to find your API secret key and Access Token.
- In n8n, add a Shopify node, create a new credential, and paste in your store’s
.myshopify.comaddress and the API credentials. You’re now ready for n8n Shopify automation.
n8n WooCommerce Workflows
Connecting n8n and WooCommerce is just as easy.
- In your WordPress dashboard, go to WooCommerce > Settings > Advanced > REST API.
- Click Add key, give it a description (e.g., “n8n Key”), and set Permissions to “Read/Write”.
- Click Generate API key. WooCommerce will show you your Consumer Key and Consumer Secret. Copy these immediately as they will not be shown again.
- In n8n, add a WooCommerce node, create a new credential, and paste in your website URL, Consumer Key, and Consumer Secret.
While Shopify and WooCommerce are the mainstays, n8n also integrates seamlessly with payment gateways (Stripe, PayPal), shipping providers (Shippo, Easyship), SMS platforms (Twilio), and support desks (Zendesk, Freshdesk). This comprehensive ecosystem supports true end-to-end automation. For example, you could trigger a workflow on a new Stripe payment, create the order in Shopify, generate a shipping label in Shippo, and send the customer an SMS confirmation via Twilio – all in a single, automated process.
Automating the Order Fulfillment Process with n8n
One of the most impactful first workflows to build is for n8n order fulfillment. This workflow triggers the moment a new order is placed and kicks off a series of essential tasks automatically.
Here’s a practical example workflow for both n8n shopify automation and n8n woocommerce:
- Trigger on New Order: Start your workflow with the Shopify or WooCommerce node. Choose the “On order created” trigger. This will start the workflow automatically every time a new sale comes in.
- Notify Your Team: Connect a Slack node. Configure it to send a message to your
#orderschannel with the key details. A good starting expression is:New Order #{{ $json.order_number }} from {{ $json.customer.first_name }} for a total of {{ $json.total_price }}.
(Note: The exact path to the data may vary slightly. Use the expression editor to drag and drop the correct fields from the trigger node’s output to be certain.) - Add to Mailing List: Use the Mailchimp node (or your email marketing tool of choice) to add the new customer to your “New Customers” audience, so they receive your welcome series.
- Prepare for Shipping: If you use a shipping provider with an API, you can connect an HTTP Request node to automatically generate a shipping label and get a tracking number, which can be saved back to the order in Shopify or WooCommerce.
Streamlining n8n Inventory Management to Prevent Stockouts
Running out of a popular product is a costly mistake. It leads to lost sales and disappointed customers. Manual stock checks are often unreliable. An automated n8n inventory management workflow can solve this problem for any n8n e-commerce store.
This n8n low stock alert workflow will check your inventory daily and warn you before you run out.
- Run Daily: Start with a Schedule Trigger node and set it to run every morning at 9:00 AM.
- Get All Products: Connect a Shopify or WooCommerce node. Set the Resource to “Product” and the Operation to “Get Many”, with “Return All” enabled.
- Check Stock Level: Add an IF node. This node will check each product to see if its inventory is low. Set the condition to check if the
inventory_quantitynumber is “Smaller Than” a value you set, like10. - Send Alert: Connect a Slack or Email node to the “true” output of the IF node. Configure it to send a message like:
LOW STOCK ALERT: Product "{{ $json.title }}" only has {{ $json.inventory_quantity }} units left.
Effective n8n inventory management means more than just watching for low stock. With n8n’s conditional logic, you can automatically email a purchase order directly to your supplier when stock hits a critical level. You can also synchronize stock levels between multiple physical warehouses and your online store in real-time, preventing overselling.
Automating Customer Communication and Feedback Requests
Great n8n customer communication doesn’t end when the order is shipped. Automating your post-purchase follow-up can significantly increase reviews and customer loyalty. A generic, one-size-fits-all email is better than nothing, but with n8n, you can do better.
This n8n feedback automation workflow asks for a review at the perfect time and personalizes the message:
- Trigger on Fulfillment: Start with a Shopify Trigger or WooCommerce Trigger set to the trigger “On order fulfilled”.
- Wait for Delivery: Add a Wait node and set it to pause the workflow for a period like 7 days, giving the customer time to receive and use the product.
- Personalize the Message: Before sending the email, use a Shopify node to get the customer’s order history. Use an IF node to check if this is their first purchase.
- Send Review Request: Connect an Email node. If it’s a new customer, send a message like, “Thanks for your first order! We’d love to hear what you think.” If they are a repeat customer, send something like, “Thanks for being a loyal customer! Could you share your thoughts on your latest purchase?”
This small touch of personalization can dramatically improve engagement. You can take this further by segmenting customers based on the products they buy, sending highly targeted cross-sell or upsell offers that are genuinely helpful.
Case Study: Synchronizing Inventory Across Platforms
Managing inventory across multiple sales channels is a classic scaling headache. Imagine your business is growing: you have a successful retail store on Shopify, and you’ve just launched a separate wholesale portal using WooCommerce. The orders are rolling in from both, but so is a logistical nightmare. Every time a product sells on Shopify, someone on your team has to manually log into WooCommerce and reduce the stock level, and vice-versa. This manual process is slow, expensive, and a single mistake can lead to overselling a product you no longer have.
This n8n case study demonstrates how to solve this problem permanently with an automated n8n inventory sync workflow. n8n will act as the central source of truth, ensuring that your stock levels are always accurate across both platforms, in real time.
Workflow Outline
- Real-Time Trigger on a Shopify Sale: The workflow starts the instant a retail customer places an order. This is achieved using the Shopify node, which is configured to listen for the “On order created” trigger. This real-time start ensures there’s no delay that could allow another sale to happen before the inventory is updated.
- Process Each Product in the Order: A single order can contain multiple different products, which Shopify calls “line items.” To handle this, the workflow uses n8n’s Loop Over Items node. This node takes the list of products from the order and processes each one individually, ensuring that if a customer buys three different items, the stock for all three is updated correctly.
- Find and Update Stock in WooCommerce: For each product looping through the workflow, n8n uses its SKU (Stock Keeping Unit) as the universal identifier. It then uses the WooCommerce node to find the product with the exact same SKU in the wholesale store. Once found, it uses the “Update a Product” operation to decrease the inventory quantity by the amount that was just sold on Shopify.
- Create a Two-Way Sync: This is only half the solution. A second, parallel workflow is created that does the exact opposite. It starts with a WooCommerce node for new wholesale orders and uses the Shopify node to reduce the stock on the retail site. This bi-directional sync ensures that no matter where a sale occurs, the inventory is updated everywhere.
This n8n Shopify automation solution transforms a complex, error-prone manual task into a reliable, hands-off process. It completely eliminates overselling, which prevents customer service nightmares and protects your brand’s reputation. It provides the business owner with the confidence to scale both sales channels aggressively, knowing that the underlying inventory logistics are handled automatically.
Beyond the Basics: Advanced Workflows for Loyalty and Marketing
Once your core operations are automated, you can build powerful workflows that actively improve your customer relationships and drive sales. These examples use the core nodes in straightforward ways to achieve high-impact results for your n8n e-commerce business.
Add a “High-Value Order” Tag for Special Attention
This workflow automatically identifies and tags large orders so your fulfillment team can add a personal touch, like a handwritten thank-you note or a small gift.
- Trigger on New Order: Start with the Shopify or WooCommerce node, set to the “Order Created” trigger.
- Check the Order Value: Connect an IF node. In the condition, check the
total_pricefrom the trigger output. Set the condition to be “Greater Than” a specific value, for example,150. - Tag the Order: If the condition is true, connect a Shopify or WooCommerce node.
- For Shopify: Use the Resource Order and Operation Update. In the Order ID field, map the
idfrom the trigger node. Add a Tags field and enterhigh-value. - For WooCommerce: Use the Resource Order and Operation Update. Map the Order ID and add a new tag.
- For Shopify: Use the Resource Order and Operation Update. In the Order ID field, map the
- Notify Your Team: As a final step, connect a Slack node to the output of the tagging step. Send a message to your
#fulfillmentchannel: “Heads up! Order#[Order Number]is a high-value order. Add a thank-you gift!”
Segment Customers for Future Marketing Campaigns
This powerful n8n marketing workflow helps you understand your customer base by automatically segmenting them based on their purchase history. This revised logic is highly efficient and scales well even for stores with thousands of customers.
- Schedule the Workflow: Start with a Schedule Trigger node. Set it to run once a week, for example, every Sunday night.
- Get Recent Customers: Use the Shopify node. Set the Resource to Customer and the Operation to Get Many. Use the “Updated At Min” filter to get customers who have been active in the last 30 days, using a JSON expression like
{{ $now.minus({days: 30}).toISODate() }} - Loop Over Customers: Connect a Loop Over Items node to the output of the previous step. This will process each customer one by one, which is much more efficient than pulling all orders at once.
- Get Orders for ONE Customer: Inside the loop, add another Shopify node. Set the Resource to Order and Operation to Get Many. Add a filter for the Customer ID, and map the customer’s ID from the loop into this field. This fetches the order history for only that single customer.
- Count the Orders: The output of the “Get Many Orders” operation includes a “total” number of records found. You can use this total count directly. No complex code is needed.
- Tag the Customer: Connect an IF node after the loop. Set it to check if the
totalfrom the previous step is “Greater Than”1.- If True, connect a Mailchimp node (or your email tool) and add the customer’s email to a “Repeat Buyers” audience or tag.
- If False, connect a separate Mailchimp node to the “false” output and tag them as a “First-time Buyer”.
n8n E-commerce FAQ
- Can n8n handle high order volumes?
Yes. While the cloud version is great for getting started, for high-volume stores, a self-hosted n8n instance on a properly sized Contabo VPS gives you full control over your server resources, allowing you to scale your automation capabilities as your business grows. - Is it secure to connect my store to n8n?
Absolutely. n8n encrypts all your credentials. For maximum security and data privacy, running n8n on your own server means your sensitive customer and order data never has to leave your own infrastructure. - What if n8n doesn’t have an integration for a tool I use?
This is where n8n is really customizable. The HTTP Request node allows you to connect to any service that has a REST API. This means if your niche shipping provider, 3PL, or accounting software has an API, you can integrate it into your n8n workflows.
