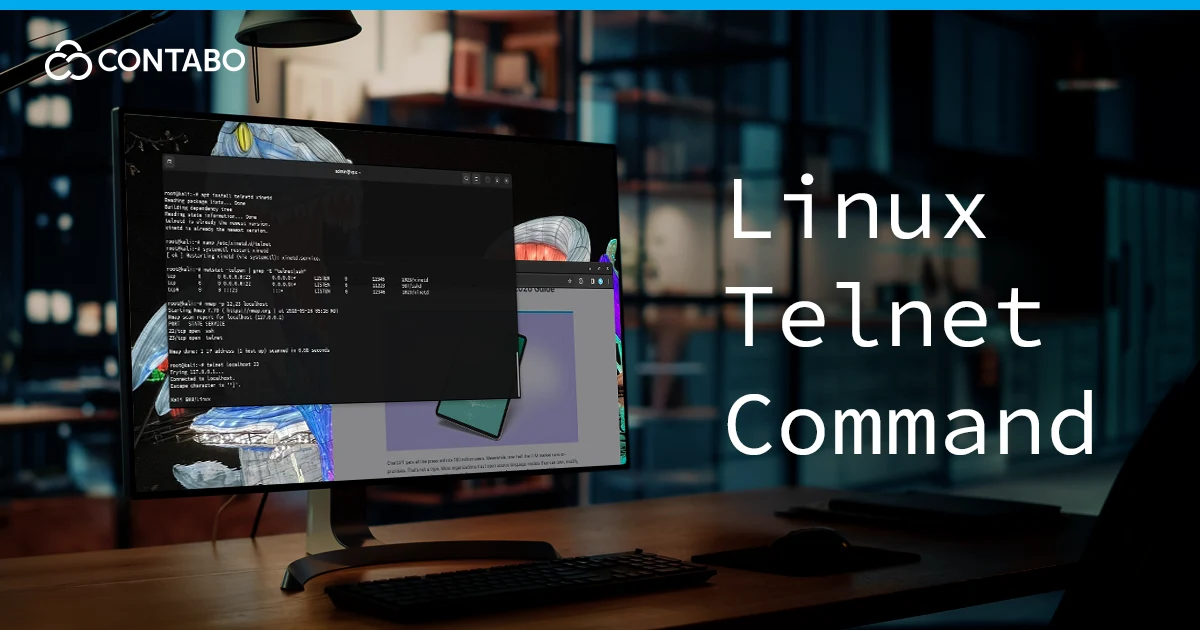
The telnet command in Linux is a veteran utility for communicating with remote hosts via the TELNET protocol. It sits at the application layer of the TCP/IP stack, letting you open a bidirectional, interactive text terminal over a virtual connection. While it was first built for remote logins, its job has shifted quite a bit over the last few decades.
When you run it, you’re essentially starting a TCP connection to a specific port on another machine. Once you’re in, Telnet sends every character you type straight to the server and shows you whatever the server sends back. This transparency is exactly why it’s still a favorite for system admins; it lets you talk directly to network services without the extra layers or fluff of modern interfaces.
Security Vulnerabilities and Why We Use the Telnet Command in Linux
Even though it’s handy, we have to face facts: Telnet is a legacy tool. It sends everything—even your usernames and passwords—in plain text. This lack of encryption makes it a sitting duck for packet sniffing and man-in-the-middle attacks. Because of these risks, most people have switched to SSH (Secure Shell) for managing servers.
However, the telnet linux utility is still a powerhouse for troubleshooting. Since it’s simple and doesn’t bother with complex handshakes, it’s the perfect way to test if a specific port is open. Whether you’re checking if a web server is up on port 80 or seeing if a firewall is blocking an app, it gives you instant, clear results.
Telnet For Network Troubleshooting – When To Use
Verifying Linux Telnet Reachability and Firewall Connectivity
Telnet might not be the standard for managing servers anymore, but it’s still great for finding network bottlenecks and misconfigured services. Most of the time, you’ll use it just to see if a service is reachable. If an app can’t talk to a database or a web server, a quick Telnet connection lets you skip the messy app logs and see if the network path is actually open.
Knowing the right linux telnet command syntax is a lifesaver when testing firewall rules. If an iptables rule or a security group is blocking you, the connection will usually just time out or get refused immediately. This helps you figure out if the network is the problem or if the application itself has crashed. If you can connect via Telnet but the app still fails, you know the issue is likely in the app’s config rather than the infrastructure.
Testing Protocol Handshakes and Telnet Command Linux Limitations
You can also use it to test protocol handshakes. Because Telnet gives you a raw stream, you can manually type out commands for protocols like SMTP or HTTP. This lets you see the exact error codes the server sends back, which modern browsers and mail clients often hide.
Just remember: don’t use it for anything sensitive or over the public internet. If a service needs encryption (like HTTPS or SMTPS), a standard telnet on linux connection won’t be able to handle the SSL/TLS handshake. You’ll just end up seeing garbled text or getting disconnected immediately.
Prerequisites: Getting a Telnet Connection Ready
Performing a Linux Install Telnet via Package Managers
You’ll need to make sure the client is actually on your machine before you start diagnosing things. Most modern distros don’t include it by default because they want you to use more secure options. Thankfully, it’s still in the official repos for Ubuntu, Debian, CentOS, and RHEL.
To install telnet debian or Ubuntu, you’ll use the apt package manager. Just run this in your terminal:
sudo apt update && sudo apt install telnet -y If you’re on RHEL, Fedora, or CentOS, you’ll need dnf or yum. To do a yum install telnet, run:
sudo yum install telnet For newer Fedora or RHEL versions, you can use:
sudo dnf install telnet Server Configuration and Telnet Usage Verification
In some lab setups or old internal networks, you might need to host a Telnet server for incoming connections. This isn’t a great idea for public-facing machines, but if you have to do it on Ubuntu, grab the telnetd package. You’ll also need to open port 23 in your firewall. For example, with UFW: sudo ufw allow 23/tcp.
Before you install telnet ubuntu or any other distro in a corporate setting, make sure it’s okay with your security policies. Once it’s installed, just type ‘telnet’ in your terminal; if the prompt changes to telnet>, you’re good to go.
Basic Telnet Commands and Syntax
Mastering the Telnet Connect Structure and Port Selection
The syntax is simple, which makes it one of the easiest command-line tools to learn. To start a session, just type the command and then the destination. Using an IP address is usually better than a domain name if you’re trying to rule out DNS issues.
The basic how to use telnet in linux structure looks like this:
telnet [hostname or IP address] [port] The port is optional, but if you leave it out, it defaults to port 23. Since port 23 is rarely used now, you’ll almost always specify the port you need. For a web server, you’d type: telnet 192.168.1.1 80.
Managing a Telnet Session and Escape Characters
Once you’re connected, you’re in interactive mode. If it works, you’ll see a message about the escape character—usually CTRL+]. This shortcut is vital; if the session hangs or the service won’t close, hitting CTRL and ] together brings you back to the internal telnet> prompt.
From there, you can run internal commands. Typing status shows your connection info, while display shows your parameters. To kill the connection and get back to your regular shell, type quit or exit.
You can also use flags like -l to specify a user for logins, or -4 and -6 to force IPv4 or IPv6. Learning how to run telnet this way ensures you don’t get stuck in an unresponsive terminal.
Telnet Port Number and Connectivity Testing
Probing Remote Services with the Telnet Port Command
Testing a specific telnet port number is one of the most common tasks for this tool. While port 23 is the protocol’s home, you can probe almost any listening service. Just put the port at the end of your command to see if the service is active, blocked, or offline.
The output gives you instant clarity. If you see “Connected to…”, the network path is open and the service is listening. This rules out network-level trouble so you can focus on the application settings instead.
Troubleshooting Timeouts and Telnet Commands Linux
If you get “Connection refused,” it usually means the machine is there, but nothing is listening on that port. If the command just sits there on “Trying [IP address]…”, that’s a timeout. Usually, this means a firewall is silently dropping your packets.
Knowing how to read these responses is a core part of system administration. Unlike a simple ping which only checks if a host is online (ICMP), a telnet linux command confirms that a specific application gateway (TCP) is actually ready to talk.
Telnet Example Scenarios for Real-world Troubleshooting
Manual Interaction with SMTP and Web Services
This is where the tool really shines. Since it handles the raw TCP connection, you can basically “pretend” to be a client. For a telnet command example, let’s look at a mail server on port 25:
telnet mail.example.com 25 If it connects, you’ll see a banner from the server. Type HELO to start the handshake; the response will tell you if the server is accepting mail or if you’ve been blacklisted. It’s much faster than digging through logs.
You can also check a web server on port 80. Send a manual request like:
telnet www.google.com 80
GET / HTTP/1.1
Host: www.google.com
Hit Enter twice, and you’ll see the raw HTML headers and content. This proves the server is working regardless of how a browser renders it.
Verifying Mail Protocols and How to Telnet in Linux
You can use these same steps for other services—like testing POP3 on port 110 or IMAP on port 143 to check authentication. For custom TCP apps, knowing how to run telnet command tests against their specific ports is the best first step in any network investigation.
Telnet Usage, Sessions and Security Limitations
Session Management and Connection Behavior
Managing a session is a bit different than modern encrypted ones. The connection stays open as long as the socket is active. But because there’s no built-in “heartbeat,” sessions often hang. If the network drops, your terminal might lock up, forcing you to use that escape character to get control back.
Understanding the Risks of Telnet From Linux
The biggest catch with Telnet is the lack of security. Every packet is sent in cleartext. If you use it to log in, anyone with a packet sniffer can see your credentials. Because of this, using it for remote admin—especially over the internet—is a huge risk and often breaks compliance rules like PCI-DSS or HIPAA.
Beyond theft, sessions are open to hijacking. Since there’s no certificate verification, a hacker could intercept your traffic or spoof the host. That’s why the world moved to SSH. It’s a great tool for port checking, but never use it for private data or production infrastructure where security matters.
Secure Alternatives to Telnet for Troubleshooting
Modern Remote Access and Network Diagnostics
For general remote access, SSH is the king. It gives you a secure, encrypted tunnel for both commands and files. Most servers now have Telnet disabled anyway, making SSH the only real option.
For diagnostics, Netcat (or nc) is widely seen as the better successor. It’s more flexible, testing both TCP and UDP, and it handles timeouts much better. It’s also way easier to use in automated scripts.
Web-Specific Services and Discovery
When you’re dealing with the web, curl and wget are much better than manual Telnet. They handle SSL/TLS handshakes natively, so they can test HTTPS on port 443. They also give you better info on headers and cookies.
For wider discovery, use nmap. While Telnet checks one port at a time, nmap can scan thousands of ports across many hosts at once. If you need to test mail specifically, swaks is much more powerful for automated testing than typing manual SMTP commands into a prompt.
Linux Telnet Command FAQ
How do I use the telnet command in Linux?
Open your terminal and type telnet followed by the IP or hostname and the port. Example: telnet 192.168.1.10 80.
What is the telnet command in Linux?
It’s a networking tool used to open a TCP connection to a remote host, mostly used today to check if ports are open.
What does the telnet command do in Linux?
It starts a raw, unencrypted communication channel, sending what you type to the server and printing the response back to you.
How do I start the telnet server command in Linux?
Install telnetd, then use systemctl to start inetd or telnet.socket, depending on your distro.
How do I install the telnet command in Linux?
Use sudo apt install telnet on Ubuntu/Debian or sudo dnf install telnet on RHEL/Fedora.
How do I exit from the telnet command in Linux?
Press CTRL and ] to get to the telnet> prompt, then type quit.
Conclusion
Mastering Telnet is still a must for any system admin or network engineer. It’s no longer the main way to access servers, but its simplicity as a diagnostic tool is hard to beat. It gives you a clear window into TCP connections, letting you see exactly how a server responds at the protocol level.
Whether you’re checking firewalls or testing mail servers, knowing how to use this tool will save you a ton of time. As long as you keep the security risks in mind and use it mostly for testing, Telnet remains a reliable bridge between your terminal and the network.
