Your WordPress site just threw a white screen mid-update. Visitors are seeing half-rendered CSS, broken shortcodes, and that lovely “Error establishing a database connection” message. Sound familiar?
WordPress maintenance mode exists to prevent exactly this. It puts up a temporary holding page while you make changes behind the scenes. Updates, redesigns, database migrations, security patches: anything that could make your site look broken to the outside world.
This guide covers three ways to enable WordPress maintenance mode, from one-click plugins to manual code edits. We’ll also walk through fixing a site that’s stuck in maintenance mode, because that happens more often than anyone likes to admit.
Whether you’re running a small blog or managing a WooCommerce store processing real orders, the principle is the same: don’t let visitors see the construction zone. A clean wp maintenance mode setup takes five minutes. Cleaning up the SEO damage from a botched live update takes weeks.
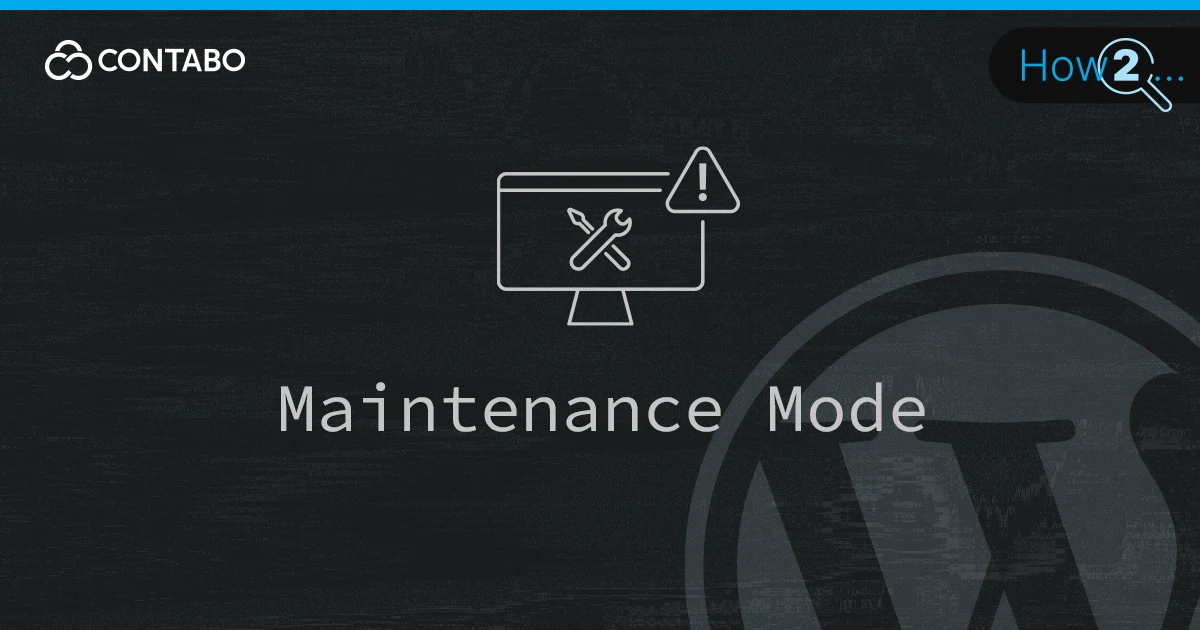
When to Use WordPress Maintenance Mode
Not every change needs maintenance mode. A typo fix in a blog post? Just edit and publish. But there’s a clear list of scenarios where skipping maintenance mode will cost you. If you’ve ever watched Google Search Console flag a spike in crawl errors right after you pushed changes to a live site, you already understand why this matters.
- Major core, theme, or plugin updates. Incompatibility between a new plugin version and your theme can break the entire frontend. Visitors shouldn’t see that.
- Full site redesigns. Switching themes while visitors browse creates a jarring, half-styled mess. Maintenance mode keeps the old face up until the new one’s ready.
- Performance and database optimization. Running a big database cleanup or caching overhaul while users hit the site can produce timeouts and corrupted queries.
- Security audits and malware removal. If you’re removing injected scripts, the last thing you want is visitors executing them while you work.
- Structural content changes. Changing URL slugs, deleting pages, or reworking your site taxonomy can trigger 404 cascades and SEO penalties if bots crawl mid-change.
- Planned downtime. Server migrations, hosting upgrades, SSL certificate swaps. A maintenance page is more professional than a connection timeout.
One critical distinction: maintenance mode is not a coming soon page. A coming soon page is for sites that don’t exist yet. Maintenance mode is for live sites that need temporary downtime. Different HTTP status codes, different SEO signals, different user expectations. Maintenance mode should return a 503 Service Unavailable header, which tells search engines “come back later, this is temporary.” A coming soon page typically returns a 200 OK and is designed to build anticipation and collect email signups for a future launch.
To keep maintenance windows short, test changes in a WordPress staging environment first. A staging site is a clone of your production site where you can break things freely. Run your updates there, confirm everything works, then deploy to production with maintenance mode enabled for just the few minutes it takes to push changes live.
Three Ways to Enable WP Maintenance Mode
There are three practical approaches to putting WordPress in maintenance mode. They range from “install a plugin and flip a switch” to “edit server config files by hand.” Pick the one that matches your comfort level and your requirements. Each method has tradeoffs. Plugins are the easiest but add a dependency. Custom code is lean but theme-dependent. The .htaccess method is the most powerful but requires server-level knowledge. Here’s how each one works, step by step.
Using a Maintenance Mode Plugin for WordPress
For most site owners, a WordPress maintenance mode plugin is the right call. No code to write, no files to edit, and you get a customizable maintenance page out of the box. The best WordPress maintenance mode plugins let you design a page that actually looks intentional, not like your site crashed. Because perception matters: a branded maintenance page says “we’re working on improvements” while a white error screen says “something went wrong and nobody’s home.”
A solid maintenance page should include a few things: a clear message explaining the downtime, your logo for brand consistency, a countdown timer or estimated return time, a subscription form so visitors can get notified when you’re back, and links to your social accounts as an alternative way to reach you. Some site owners skip all of this and just slap up a one-liner. That works technically, but it misses an opportunity to keep visitors engaged.
Two plugins dominate this space. Let’s look at both.
How to Set Up SeedProd Maintenance Page
SeedProd is a freemium page builder that includes a dedicated maintenance mode feature. The free version ships with drag-and-drop editing and a library of templates. Paid plans (starting around $39.50/year) unlock more templates plus custom 404 and login page builders.
Here’s the setup:
- Install and activate SeedProd from the WordPress plugin directory.
- Navigate to the SeedProd tab in your WordPress dashboard and click Set up a Maintenance Mode Page.
- Choose a template from the library. Customize it with drag-and-drop: swap out images, edit text, add countdown blocks.
- Click Preview to check the design, then Save.
- When you exit the editor, SeedProd asks if you want to activate maintenance mode. Confirm, and verify the dashboard shows Maintenance Mode: Active.
- When you’re done working, toggle the setting off from the SeedProd dashboard.
The whole process takes about five minutes. The main limitation of the free version is a smaller template library, but you can build a WordPress maintenance mode custom page from scratch if none of the presets match your brand. SeedProd also lets you control which user roles can bypass maintenance mode, so your content team can still log in and work while visitors see the maintenance screen.
How to Configure LightStart for WP Maintenance
LightStart (formerly WP Maintenance Mode) takes a different approach. Instead of its own builder, it plugs into the native WordPress block editor. It’s less flashy than SeedProd but feels familiar if you already know Gutenberg.
LightStart relies on Otter Blocks for its block-based features, so expect that plugin to be installed automatically during setup.
Setup walkthrough:
- Install and activate LightStart from the plugin directory.
- In the LightStart settings, select the Maintenance mode page type and continue.
- Configure the General tab. The key settings: set Status to Activated, enable Bypass for Search Bots (set to Yes to maintain your SEO rankings during downtime), define which user roles can still access the backend and frontend, and add any pages or IP addresses you want excluded from maintenance mode.
- Open the Design tab. Import a starter template, then customize it in the WordPress block editor like any other page.
- Check the Module tab if you want Google Analytics tracking active during maintenance.
- The Manage Bot tab lets you set up a chat flow to capture email leads while the site is down. Optional but useful.
Remember to set the status back to Deactivated once your site is ready to go live. It’s easy to forget this step, especially after a long maintenance session. I’ve seen sites sit in maintenance mode for days because someone forgot to flip the switch. Set a calendar reminder if you have to.
Enable Maintenance Mode with Custom Code
Plugins add overhead. If you’re already running 30+ plugins and your load time looks like a countdown to heat death, adding another one isn’t ideal. The manual route gives you WordPress maintenance mode without plugin dependencies, extra database queries, or update nag screens.
This method uses a custom PHP function in your theme’s functions.php file. It hooks into WordPress’s get_header action and serves a simple maintenance message to anyone who isn’t a logged-in admin. The entire snippet is about ten lines. It won’t win any design awards, but it does the job cleanly.
Here’s the code:
// Activate WordPress Maintenance Mode
function wp_maintenance_mode() {
  if (!current_user_can('edit_themes') || !is_user_logged_in()) {
    wp_die('<h1>Under Maintenance</h1><br />We are improving our site. Back soon.');
  }
}
add_action('get_header', 'wp_maintenance_mode');
Add this snippet to the end of your active theme’s functions.php file. Access it through your host’s File Manager or via FTP with a client like FileZilla.
The catch: this is theme-dependent. Switch themes and the code stays behind in the old theme’s file. If you want it to persist across theme changes, use a child theme and add the code to the child’s functions.php instead.
To disable maintenance mode, remove the code snippet and save. That’s it.
Back up your site before editing any theme files. A misplaced bracket in functions.php will white-screen your entire site. Ask me how I know.
Activate Maintenance Mode via .htaccess
The .htaccess method works at the server level, which makes it independent of your WordPress theme, plugins, or even WordPress itself. It’s the best option for WordPress multisite setups where you need every subsite in maintenance simultaneously.
The process has two parts: create an HTML maintenance page, then add redirect rules to .htaccess.
First, create a file called maintenance.html with your custom message. A basic version:
<!DOCTYPE html>
<html><head><title>Maintenance</title></head>
<body><h1>We'll Be Right Back</h1>
<p>Improving the site. Back shortly.</p></body></html>
Upload maintenance.html to your public_html directory. Then open .htaccess (it lives in the same root directory) and add these rules above the # END WordPress line:
RewriteEngine On
RewriteBase /
RewriteCond %{REQUEST_URI} !^/maintenance\.html$
RewriteRule ^(.*)$ https://yourdomain.com/maintenance.html [R=307,L]
Replace yourdomain.com with your actual domain. The R=307 flag sends a temporary redirect, which tells search engines this isn’t permanent. That’s important for SEO. A 301 would signal a permanent move, and search engines would start deindexing your pages. The R=307 flag preserves your rankings while the maintenance page is up.
One advantage of this approach over the functions.php method: it works even if WordPress itself is broken. If a bad plugin update crashed your entire WP installation, the .htaccess redirect still fires because Apache processes it before WordPress ever loads. That makes it a good fallback to have in your toolkit.
When maintenance is done, remove the rewrite rules from .htaccess. Leave maintenance.html on the server if you want; it won’t hurt anything sitting there quietly.
WordPress Site Stuck in Maintenance Mode: How to Fix It
You ran a plugin update, your browser crashed midway, and now your WordPress site shows “Briefly unavailable for scheduled maintenance. Check back in a minute.” That was 45 minutes ago. Your client is calling. Your analytics dashboard shows a flatline.
Here’s what happened: WordPress creates a file called .maintenance in your root directory (public_html) whenever it runs updates. When the update completes, WordPress deletes that file. If the update gets interrupted by a browser crash, a server timeout, or a lost connection, the file stays. And your WordPress site stays stuck in maintenance mode until someone removes it manually.
The fix is straightforward:
- Connect to your server via File Manager or FTP.
- Navigate to your root directory (public_html).
- Find the .maintenance file and delete it.
- Reload your site. It should be back.
If there’s no .maintenance file visible (it’s hidden by default on some file managers; enable “show hidden files”), the problem is likely a plugin or theme conflict. This is where troubleshooting gets tedious, but there’s a systematic debugging path that works every time:
- Rename the /wp-content/plugins/ folder to /wp-content/plugins_disabled/ via FTP. This deactivates all plugins at once.
- If the site loads, rename the folder back and reactivate plugins one by one until you find the culprit.
- If it still doesn’t load, try the same with your themes folder. Switch to a default theme (like Twenty Twenty-Four) to isolate the issue.
To prevent this from recurring:
- Don’t close the browser tab while WordPress updates are running. Seriously. Go make coffee, but leave the tab open.
- Update plugins one at a time, not in bulk. Bulk updates increase the chance of a timeout. Enable WordPress automatic updates for minor releases to reduce the manual overhead.
- Check your disk space. Updates that fail halfway through are often caused by insufficient storage. If your hosting plan is tight on space, it’s time to clean house or upgrade. Run a quick check in your hosting dashboard; anything under 500MB of free space is a ticking time bomb for failed updates.
If you’ve tried everything and the site still won’t come out of maintenance mode, check your server error logs. They live in your hosting control panel under a name like “Error Log” or “Raw Access.” The log will tell you exactly which file or process choked, which is far more useful than guessing.
WordPress Maintenance Mode FAQ
Pretty much anything that doesn’t require live visitor interaction. You can fix bugs, run database optimization, perform WordPress core and plugin updates, audit your security setup, redesign templates, update permalinks, clean out unused media, and test new functionality. It’s your WordPress site maintenance window, so use it wisely. Batch related tasks together to minimize total downtime.
What you can’t do: process WooCommerce transactions, moderate comments in real time, serve dynamic content, or handle form submissions. The site is offline to visitors, so anything that depends on active user sessions won’t function. If you run an e-commerce store, schedule maintenance during your lowest-traffic hours. Check your analytics to find that sweet spot.
If you want visitors to land on a specific URL instead of the default maintenance screen, you have two options. A maintenance mode WordPress plugin like SeedProd or LightStart can handle this through its settings with zero coding. Both offer redirect URL fields in their configuration panels.
For a code-based approach, add a wp_redirect() call inside a maintenance mode function in functions.php. Set it as a 302 (temporary) redirect to your custom URL. Don’t use 301 here. A 301 tells search engines the move is permanent, and they’ll start deindexing your original pages. That’s the opposite of what you want during a temporary maintenance window. The 302 code keeps your SEO intact while pointing visitors somewhere useful.
Every reputable WordPress maintenance mode plugin has a support page on WordPress.org. Go to the plugin’s page in the directory and click the Support tab. For free plugins, that’s usually your best bet. Community forums can be hit or miss, but popular plugins like SeedProd and LightStart have active communities where questions get answered within a day or two.
Premium plugins typically include dedicated support channels: ticket systems, live chat, or email. When choosing a wp maintenance mode plugin, check how responsive their support team is before buying. Read the recent support threads on WordPress.org. Sort by date and see if questions from the last month got answers. A plugin that hasn’t responded to a support request in three months is a red flag, regardless of how many five-star reviews it has. You don’t want to discover bad support the night your site breaks.
