Whether you’re an experienced developer, a small business owner, or a dedicated blogger, your website is like your online identity. And with that online identity, it’s crucial to protect and preserve your valuable content. This is where regular backups become essential, as they act as a safety net to prevent data loss and unexpected issues.
The Importance of WordPress Backups
Imagine waking up one day, only to discover that your website has mysteriously vanished into thin air. All the hours of hard work, the carefully crafted content, and the countless interactions with your audience—gone in an instant. It’s a nightmare scenario that many WordPress users have faced. This is where the importance of WordPress backups becomes crystal clear.
WordPress is a fantastic platform for creating and managing websites, but it’s not immune to mishaps. Technical glitches, security breaches, server failures, or even human errors can all lead to data loss. Without a reliable backup system in place, you’re essentially playing a high-stakes game of digital roulette with your website’s future.
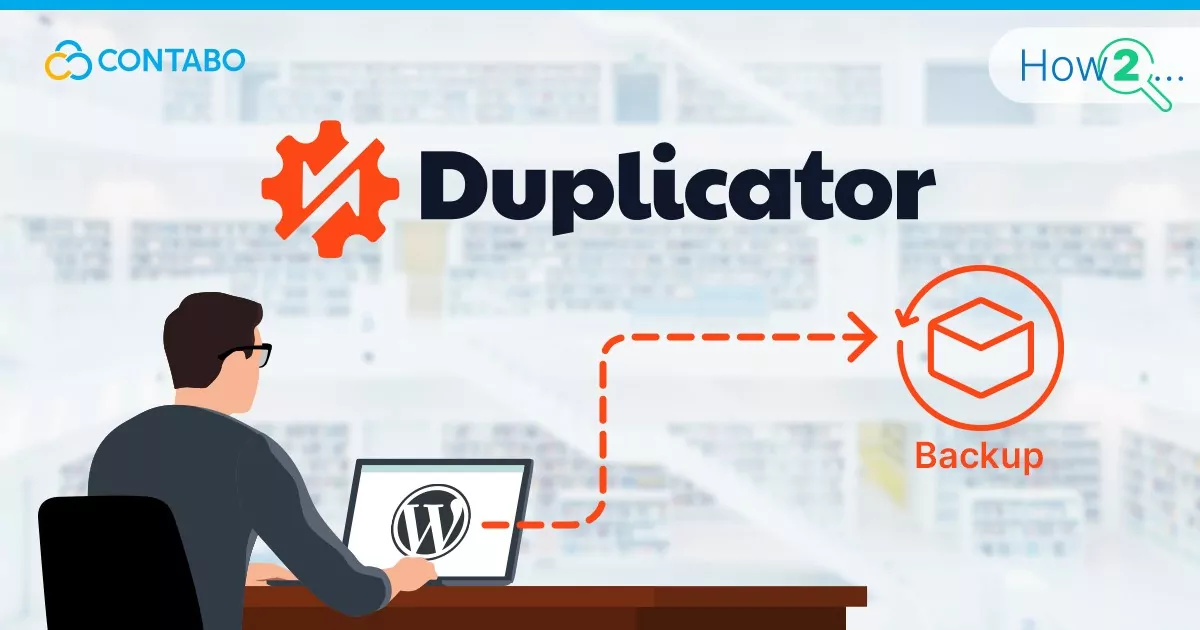
Introduction to the Duplicator Plugin
Enter the Duplicator plugin, a powerful tool that can be your lifesaver when it comes to safeguarding your WordPress website. Duplicator simplifies the often intimidating process of backing up and migrating your site. With its user-friendly interface and robust features, it offers a practical and efficient way to ensure your website’s data is securely stored and can be restored when needed.
In this series, we’ll delve into the world of Duplicator, exploring its capabilities and guiding you through the steps to effectively backup your WordPress website. Whether you’re new to WordPress or a seasoned pro, Duplicator can be a valuable addition to your toolkit.
Please note that Duplicator offers both free and paid plans. The free version provides essential backup and migration capabilities, while the paid version, Duplicator Pro, offers advanced features and priority support for those seeking enhanced functionality and peace of mind. Whether you choose the free or paid plan, implementing a robust backup strategy is essential for the security and reliability of your WordPress website.
Overview of the WordPress Backup Series Content
This series isn’t just about Duplicator alone. We understand that different users have different preferences and needs, so we’ve got you covered. In addition to our in-depth exploration of Duplicator, we’ve also created guides on other popular backup solutions like UpdraftPlus and BlockVault. Each guide will provide you with a comprehensive overview, helping you make an informed choice based on your specific requirements.
So, whether you’re a Duplicator enthusiast, exploring alternatives, or just starting your WordPress backup journey, stay tuned. We’re here to equip you with the knowledge and tools you need to ensure the safety and security of your WordPress website. In the chapters to follow, we’ll walk you through the ins and outs of Duplicator, making the process of WordPress backup a breeze.
Installing and Activating Duplicator
In the previous chapter, we introduced you to the significance of WordPress backups and the role the Duplicator plugin plays in ensuring the safety of your website’s data. Now, it’s time to roll up our sleeves and dive into the practical aspect of getting Duplicator up and running on your WordPress site. In this chapter, we’ll provide you with a step-by-step guide on how to install and activate Duplicator, along with the initial setup to get you started on the right track.
Step 1: Log in to Your WordPress Dashboard
To begin, make sure you’re logged in to your WordPress dashboard. You’ll need administrator privileges to install and activate plugins.
Step 2: Navigate to the Plugins Section
In your WordPress dashboard, find the “Plugins” section on the left-hand sidebar. Click on it to expand the menu.
Step 3: Click on “Add New”
Under the “Plugins” section, you’ll see a submenu. Click on the “Add New” option. This will take you to the plugin installation page.
Step 4: Search for “Duplicator”
In the search bar located in the upper right corner of the plugin installation page, type “Duplicator” and press “Enter.” WordPress will now search for the Duplicator plugin in its plugin repository.
Step 5: Install Duplicator
You should see the Duplicator plugin listed in the search results. It’s usually one of the top results. Click the “Install Now” button next to the Duplicator plugin. WordPress will now download and install the plugin on your site.
Step 6: Activate Duplicator
Once the installation is complete, the “Install Now” button will change to an “Activate” button. Click on “Activate” to enable the Duplicator plugin on your WordPress site.
Step 7: Duplicator Welcome Screen
After activation, you’ll be directed to the Duplicator welcome screen. Here, you’ll find essential information about the plugin and its features. Take a moment to familiarize yourself with this screen, as it provides valuable links to Duplicator’s documentation and support resources.
Step 8: Create Your First Package
To get started with Duplicator, click on the “Packages” tab in the left sidebar. Here, you’ll have the option to create your first package, which is essentially a backup of your website. Click on the “Create New” button to begin the process.
Step 9: Configure Your Package Settings
Duplicator will guide you through the package creation process with a series of configuration steps. You’ll need to provide a name for your package, select what to include in the backup (usually, it’s recommended to include everything), and specify any advanced options if needed. Follow the prompts and click “Next” to proceed.
Step 10: Build Your Package
Once you’ve configured your package settings, click on the “Build” button. Duplicator will then create a backup of your website, compress it into a downloadable package, and provide you with a link to download it. Congratulations, you’ve just created your first backup with Duplicator!
Creating Your First Backup
Now that you’ve successfully installed and activated the Duplicator plugin in the previous chapter, it’s time to roll up our sleeves and create your first backup using this powerful tool. In this chapter, we’ll provide you with a detailed walkthrough on how to create a backup using Duplicator, along with configuring backup settings for optimal results.
Step 1: Access the Duplicator Dashboard
To create your first backup, log in to your WordPress dashboard and navigate to the “Duplicator” menu on the left-hand sidebar. Click on it to access the Duplicator dashboard.
Step 2: Create a New Package
In the Duplicator dashboard, you’ll see a list of packages if you’ve created any previously. To create a new backup package, click on the “Create New” button.
Step 3: Name Your Package
Give your backup package a descriptive name. This name helps you identify the backup easily, especially if you have multiple backups. A good naming convention includes the date and a brief description of the backup.
Step 4: Configure Package Settings
Duplicator will guide you through a series of configuration steps. Let’s take a closer look at some of the important settings:
- Storage: Choose where you want to store your backup package. Duplicator provides options for saving it to your server, your computer, or an external destination such as Dropbox, Google Drive, or FTP. Select the option that suits your needs.
- Archive: This section allows you to select which files to include in the backup. By default, Duplicator will include everything. However, you can exclude specific files or directories if necessary.
- Database: Configure how the plugin handles your database. Generally, it’s recommended to include all tables unless you have a specific reason not to.
- Advanced Options: Here, you can set additional options, such as renaming the package, specifying a backup schedule, or adjusting the file and database timeouts. Advanced users may find these settings useful for fine-tuning their backups.
Step 5: Run the Package Creation
Once you’ve configured all the settings to your liking, click the “Next” button. Duplicator will now begin the process of creating your backup package. This process may take a few moments, depending on the size of your website.
Step 6: Download Your Backup Package
After the package creation process is complete, Duplicator will provide you with a link to download your backup package. Click on the link to save the backup file to your computer or your chosen storage destination, depending on your earlier selection.
Step 7: Verify Your Backup
Before you conclude this step, it’s a good practice to verify the integrity of your backup package. Ensure that the downloaded file is intact and can be successfully restored if needed.
Congratulations! You’ve just created your first backup using Duplicator. Your website’s data is now safely stored in the backup package you generated. Remember to store this backup file in a secure location, and consider creating regular backups to keep your website’s data up to date.
Restoring Your WordPress Website
Accidents happen, and when they do, having a reliable backup of your WordPress website can be a lifesaver. In this chapter, we’ll guide you through the process of restoring your website from a Duplicator backup. We’ll also cover common issues that may arise during the restoration process and provide troubleshooting tips.
Step 1: Access the Duplicator Dashboard
To begin the restoration process, log in to your WordPress dashboard and navigate to the “Duplicator” menu on the left-hand sidebar. Click on it to access the Duplicator dashboard.
Step 2: Import a Package
In the Duplicator dashboard, you’ll see a list of packages if you’ve created backups previously. To restore your website, click on the “Import” button next to the backup package you want to use.
Step 3: Upload Your Backup Package
Duplicator will prompt you to upload your backup package file (the one you previously downloaded or stored). Click on the “Choose File” button and select the backup package from your computer or designated storage location. Then, click the “Next” button.
Step 4: Review Import Settings
Duplicator will analyze your backup package and display the import settings. Review these settings carefully to ensure they match your website’s requirements. Pay attention to details like the site URL and database credentials. Make any necessary adjustments if needed.
Step 5: Import Process
Once you’ve reviewed the settings and everything looks correct, click the “Next” button to initiate the import process. Duplicator will begin extracting and restoring your website from the backup package. This may take some time, depending on the size of your site.
Step 6: Complete Restoration
Once the restoration process is complete, Duplicator will display a success message. You can now click on the “Admin Login” button to log in to your restored WordPress dashboard.
Congratulations! You’ve successfully restored your WordPress website using Duplicator.
Automating Backups
In this chapter, we’ll explore the invaluable feature of automating backups using Duplicator. Regular, hassle-free backups are crucial for maintaining the integrity and security of your WordPress website. We’ll walk you through the steps of setting up automated backup schedules with Duplicator and touch upon how these backups can also facilitate website migrations.
Setting Up Automated Backup Schedules with Duplicator
Automating backups with Duplicator is a smart way to ensure your website’s data is consistently backed up without manual intervention. To get started:
Step 1: Access the Duplicator Dashboard
Log in to your WordPress dashboard and navigate to the “Duplicator” menu on the left-hand sidebar. Click on it to access the Duplicator dashboard.
Step 2: Configure a New Schedule
In the Duplicator dashboard, click on the “Schedules” tab in the left sidebar. Here, you can set up and manage backup schedules. To create a new schedule, click the “Add New” button.
Step 3: Define Your Schedule
Duplicator allows you to specify the frequency and timing of your automated backups. You can choose from options like daily, weekly, or monthly backups. Select the frequency that suits your needs and set the time for the backup to occur.
Step 4: Configure Backup Settings
Next, you’ll need to configure the backup settings for this schedule. You can choose which files and database tables to include, as well as other advanced options, just like in the manual backup process. Ensure that your settings align with your backup requirements.
Step 5: Save and Activate the Schedule
After configuring your schedule, click the “Save” button to save your settings. Once saved, you can activate the schedule by clicking the “Activate” button. Duplicator will now automatically create backups based on your defined schedule.
Ensuring Regular, Hassle-Free Backups of Your Site
Automated backups offer peace of mind by consistently safeguarding your website’s data. They reduce the risk of data loss due to unforeseen events, such as server failures or security breaches. With automated backups in place, you can focus on running your website without worrying about manually initiating backups.
Migrating Your Website
Migrating your WordPress website to a new hosting provider or domain can be a daunting task. Fortunately, Duplicator simplifies this process, making it efficient and hassle-free. In this chapter, we’ll guide you through using Duplicator to migrate your WordPress site and share tips on avoiding common migration pitfalls.
Using Duplicator to Migrate Your WordPress Site
Duplicator’s migration feature streamlines the process of moving your website to a new host or domain. Here’s a step-by-step guide to migrating your website:
Step 1: Create a Backup:
Before starting the migration, ensure you have a recent backup of your website. If you’ve set up automated backups as discussed in Chapter 5, you can use one of those backups. Download the backup package and the associated installer script.
Step 2: Prepare Your New Hosting Environment:
Set up your new hosting environment with the necessary domain and hosting account. Ensure that you have access to the server where you intend to move your website.
Step 3: Upload Files:
Upload both the backup package and the installer script to your new hosting environment. You can use FTP or a file manager provided by your hosting provider to do this. Place them in the directory where you want your WordPress site to reside.
Step 4: Run the Installer Script:
In your web browser, access the installer script by entering your domain followed by “/installer.php” (e.g., http://yournewdomain.com/installer.php). Follow the on-screen instructions provided by the Duplicator installer.
Step 5: Complete Migration:
The Duplicator installer will prompt you to enter the database credentials for your new hosting environment. Ensure that you enter the correct information. Once the migration process is complete, you’ll be able to access your WordPress site at the new domain or hosting provider.
Avoiding Common Migration Pitfalls
While Duplicator simplifies the migration process, here are some common pitfalls to avoid for a smooth transition:
- Incorrect Database Credentials: Ensure that you enter the correct database credentials during the migration process. Any mistakes can lead to database connection issues.
- Missing Files: Make sure you upload both the backup package and the installer script to the correct directory on your new hosting environment. Missing files can disrupt the migration.
- Backup Compatibility: Ensure that your backup package is compatible with the version of WordPress and the hosting environment on your new server. Compatibility issues can lead to errors.
- Permalinks and URLs: After migration, update your site’s permalinks and URLs to reflect the new domain or directory structure. Failure to do so can result in broken links and pages.
- Testing: thoroughly test your migrated website to identify and resolve any issues before making it live. Check for broken links, missing images, and functionality problems.
- DNS Propagation: If you’re changing your domain, keep in mind that DNS propagation can take time. Be patient and allow time for your new domain to resolve correctly.
Conclusion
Final Thoughts on the Importance of Regular WordPress Backups
As we conclude this series, it’s crucial to underscore the significance of regular WordPress backups. Your website is a valuable asset, and it’s vulnerable to various threats, including server failures, security breaches, human errors, and software updates gone wrong.
Regular backups are your safety net, providing you with the ability to recover your website and its data in the event of an unexpected disaster. They offer peace of mind, enabling you to focus on the growth and success of your online presence, knowing that your hard work is protected.
Remember that the loss of data or website functionality can be not only frustrating but also costly in terms of time, money, and reputation. By implementing a robust backup strategy, like the one we’ve explored with Duplicator, you are taking a proactive step to safeguard your WordPress site.
We hope this series has empowered you with the knowledge and tools to effectively back up and secure your WordPress website. Whether you choose Duplicator or another backup solution, make regular backups a non-negotiable part of your website maintenance routine. Your website’s future may depend on it.
