Nextcloud is a popular Open Source productivity platform among the self-hosting community. This tutorial will teach you how to install Nextcloud on VPS.
We’ve included both a step-by-step video guide and written tutorial.
Nextcloud VPS Install Video Tutorial
What’s Required to Install Nextcloud?
To install Nextcloud, you’ll need a Linux server with root access. For this tutorial, I’m going to deploy Nextcloud on a VPS with Debian 11 as the operating system.
And for the web server, I’m using Apache2 (it’ll be used as a reverse-proxy). Moreover, it’s required to have a domain already connected to your server.
Before we start with the Nextcloud VPS install, we want to make sure that our server is up to date. To do this, log in as root and use this command to update your server:
apt update && apt upgrade –y
Step 1: Install Required Programs
We’ll need to install all required programs, e.g., Apache2, PHP, and database software. PHP8.0 will be covered in Step 2.
Let’s start by installing the required programs with this command:
apt install apache2 unzip wget curl mariadb-client mariadb-server nano
Step 2: Install PHP8.0
As mentioned earlier, we need to install PHP8.0 (or newer). 8.0 is the recommended PHP version.
Step 2A: Adding Repository
We’ll need to add the PHP8.0 repository in Debian 11. To do so enter these commands in this order:
apt-get install ca-certificates apt-transport-https software-properties-common -y
echo "deb https://packages.sury.org/php/ $(lsb_release -sc) main" | tee /etc/apt/sources.list.d/sury-php.list
apt install gnupg gnupg2 gnupg1 -y
wget -qO - https://packages.sury.org/php/apt.gpg | apt-key add -
apt update && apt upgrade -y
The repo should already be installed by now, so we’ll proceed with installing PHP8.0.
Step 2B: Installing PHP8.0 & Necessary Modules
Installing PHP8.0 is very easy and done with just one command:
apt install php8.0 -y
You’ll need to install additional PHP-Modules for Nextcloud (needed for Nextcloud to work properly) with this command:
apt install libapache2-mod-php8.0 php8.0-{zip,xml,mbstring,gd,curl,imagick,intl,bcmath,gmp,cli,mysql,apcu,redis}
Step 2C: Adjusting php.ini
After installing PHP and all required modules, we need to adjust the php.ini, or the config of PHP. I’m going to use the nano text-editor. Open the file with this command:
nano /etc/php/8.0/apache2/php.ini
And don’t forget to change these parameters:
- memory_limit = 1024M
- upload_max_filesize = 16G
- post_max_size = 16G
- date.timezone = Europe/Berlin
Hint: You can press [CTRL+W] to open a search-field in which you can search for these parameters (e.g., memory_limit). Hit [Enter] to jump to the exact line. With this method, you don’t need to scroll through the whole config to find the values.
After you’ve changed the parameters, save the file with [CTRL+O] and exit the editor with [CTRL+X].
Step 3: Setting up a Database
Nextcloud will store things like userinfo in a database. Therefore, we need to create one by using MariaDB.
You have to first log in to the database software with this command:
mysql –u root –p
Then, you’ll need to enter your root-password.
With this command you can create the database:
create database nextcloud;
Now we will create a database user with this command:
create user ‘nextcloud’@’localhost’ identified by ‘PASSWORD’;
IMPORTANT: Please set a secure password by replacing PASSWORD in the command above. Make sure to leave the apostrophe in front and behind your password (you could use a password manager like Bitwarden self-hosted on a VPS for even more security).
Now give the database user access to the nextcloud database with this command:
grant all privileges on nextcloud.* to ‘nextcloud’@’localhost’;
And refresh the database with this command:
flush privileges;
This creates the database and database user. You can exit the database software with this command:
exit;
Step 4: Download Nextcloud Files
It’s now time to download the actual Nextcloud files. To do so, use this command:
cd /tmp && wget https://download.nextcloud.com/server/releases/latest.zip
Because the downloaded file is a .zip-Archive, we need to unzip it first with this command:
unzip latest.zip
After unzipping, you can remove the .zip-Archive with this command:
rm latest.zip
Move the unzipped Nextcloudfolder to its correct position with this command:
mv nextcloud /var/www
Step 5: Configure Apache2
Activate Necessary Modules
You’ll need to activate some Nextcloud required modules in Apache2’s default configuration. Use this command to do so:
a2enmod rewrite headers env dir mime
Step 5A: Setting up a reverse-proxy
In order to tell Apache2 that there is a Nextcloud instance running at a specific location, we need to set up a reverse-proxy.
To do so, we are again using the nano-text editor to create this reverse-proxy. Use this command to create the config:
nano /etc/apache2/sites-available/nextcloud.conf
Now paste in the following content:
<VirtualHost *:80>

     ServerAdmin <YourEmail>

     DocumentRoot /var/www/nextcloud/

     ServerName <Your(sub)Domain>

     Alias /nextcloud "/var/www/nextcloud/"


     <Directory /var/www/nextcloud/>

        Options +FollowSymlinks

        AllowOverride All

        Require all granted

          <IfModule mod_dav.c>

            Dav off

          </IfModule>

        SetEnv HOME /var/www/nextcloud

        SetEnv HTTP_HOME /var/www/nextcloud

     </Directory>


     ErrorLog ${APACHE_LOG_DIR}/error.log

     CustomLog ${APACHE_LOG_DIR}/access.log combined


</VirtualHost>
IMPORTANT: You need to replace <YourEmail> in the second line with a valid email address. The brackets in front of and behind your email address (“<” and “>”) need to be removed.
Moreover, you need to replace <Your(sub)Domain> in the fourth line with your acutal (sub)domain (don’t forget to remove the brackets!).
After changing these two things, save the file with [CTRL+O] and exit the editor with [CTRL+X].
You can activate your config with the following command:
a2ensite nextcloud.conf
You’ll need to restart the whole web server with this command in order for the changes to take effect:
systemctl restart apache2
Step 6 (optional): Create a Data Folder
By default, Nextcloud will store all uploaded data in the installation directory of your Nextcloud instance. If you want, you can create a separate location for all uploaded data (note this step is fully optional). You can use this command to indicate where you want to create the uploaded data folder:
mkdir /home/data
For the purposes of this tutorial, I chose /home/data as my uploaded files’ location. You’re more than welcome to choose a different location – just adjust the command.
Step 7: Adjust Permissions
In order for Apache2 (the web server) to access the Nextcloud files, we’ll need to adjust a few permissions.
Use these commands to adjust the permissions:
chown -R www-data:www-data /var/www/nextcloud
chmod -R 755 /var/www/nextcloud
Note that you’ll need to change your permissions for the uploaded data folder if you created said folder in the previous optional step. Use this command to change permissions for the folder:
chown –R www-data:www-data /home/data
If you’ve chosen a different location than /home/data (except the default one), then adjust the path in the command above.
Step 8: Install SSL Certificate via Certbot
SSL certificates are one of the “must implement” security measures, especially for securing data transfer or login data. In this tutorial, we use Certbot, which lets you generate free Let’s Encrypt certificates that are valid for 90 days.
Use this command to install Certbot:
apt install certbot python3-certbot-apache -y
After installing Certbot, start the program with this command:
certbot --apache
Note that when you start the program for the first time, you’ll need to agree to some license terms & conditions (y’know, the usual “sign your soul away to use the program” terms & conditions).
You should now see a list of all of your active websites (e.g., cloud.domain.com or ilovethistutorial.com).
In this following step, you’ll need to type in the correct number to select the site you want to install a certificate for, and choose Redirect (Option 2 in the next menu.)
After this is all complete, you can sit back and marvel at the fruits of your labor: you now have a SSL certificate.
Step 9 (last step!): Finish Nextcloud Installation in Browser
The last thing you need to do is finalize the installation via your browser.
Just enter your (sub)domain into your browser’s address bar.
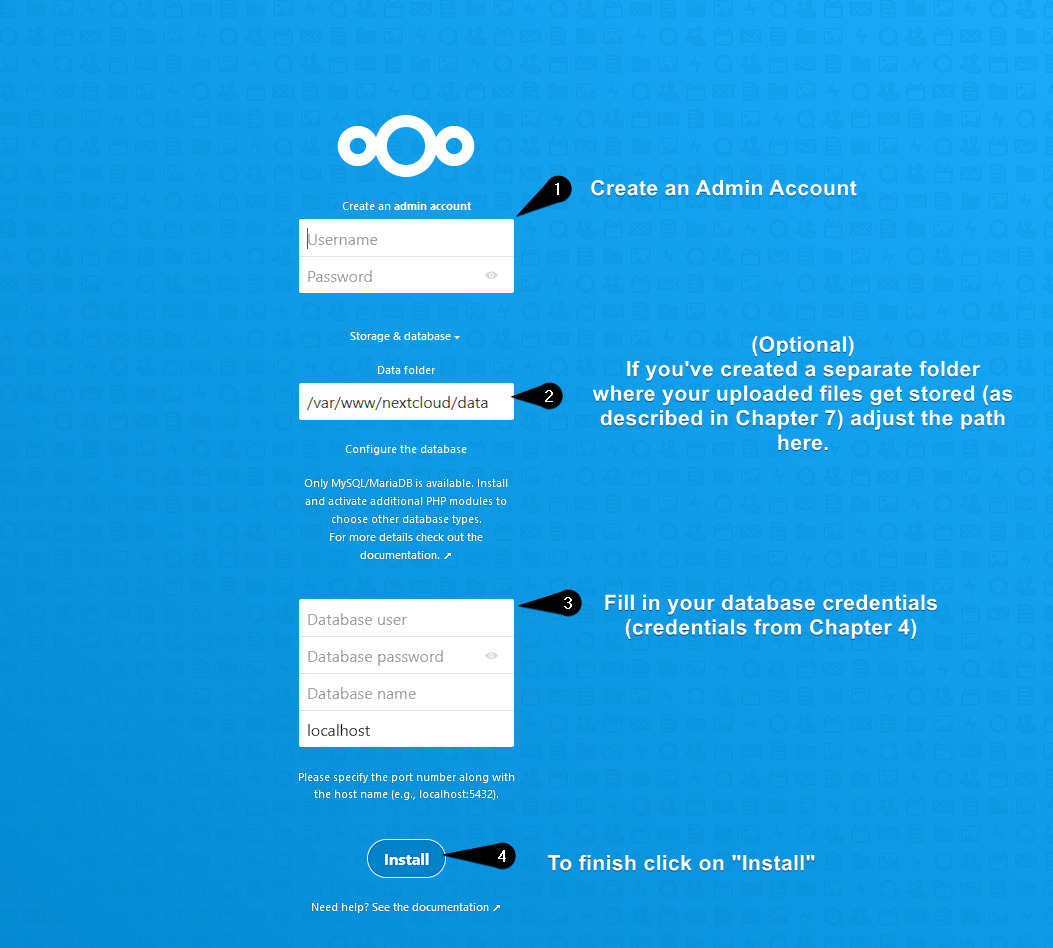
You’ll then see these fields:

These last four steps are straightforward as you see in the screenshot. Here they are written out for easier reference:
1) Create an admin account.
2 (Optional): If you chose a separate location for your uploaded data, then you’ll need to provide the path of this location. Otherwise, leave it as it is.
3) Enter your database credentials:
User: nextcloud
Password: PASSWORD
Name: nextcloud
Since the database runs on the same server as this Nextcloud instance, you can leave the localhost-part as is.
4) Click “Install”.
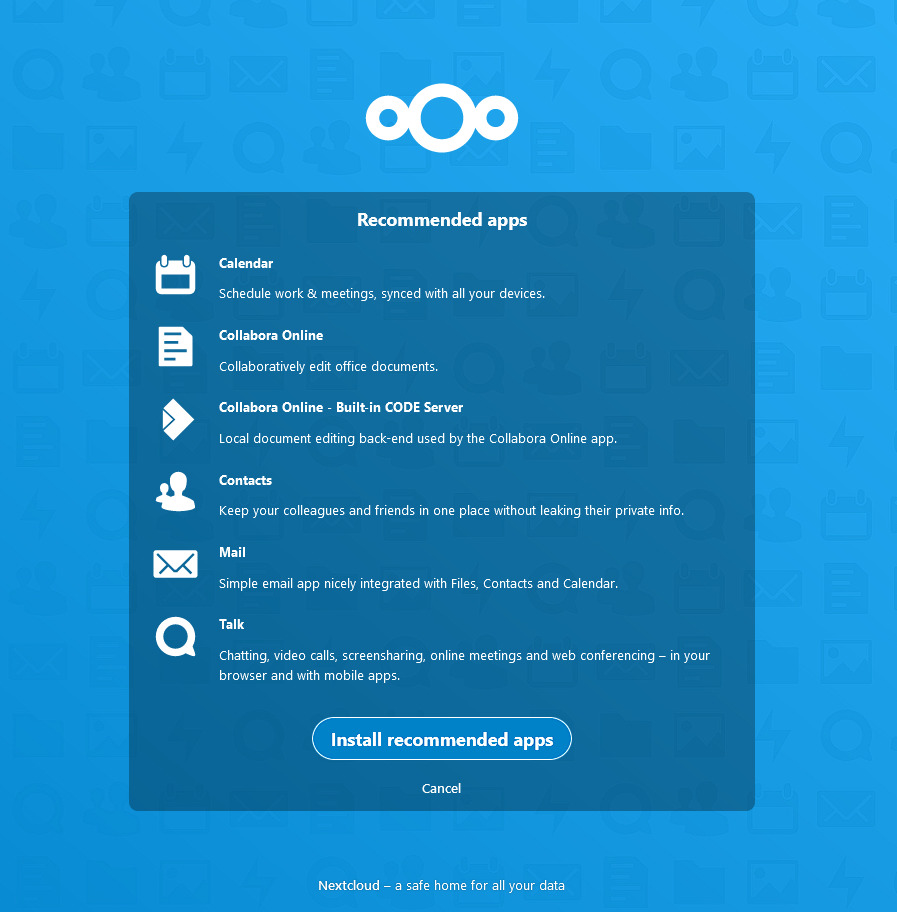
This menu appears after you click “Install”.

Here, you can choose if you want Nextcloud to install the listed recommended apps or not.
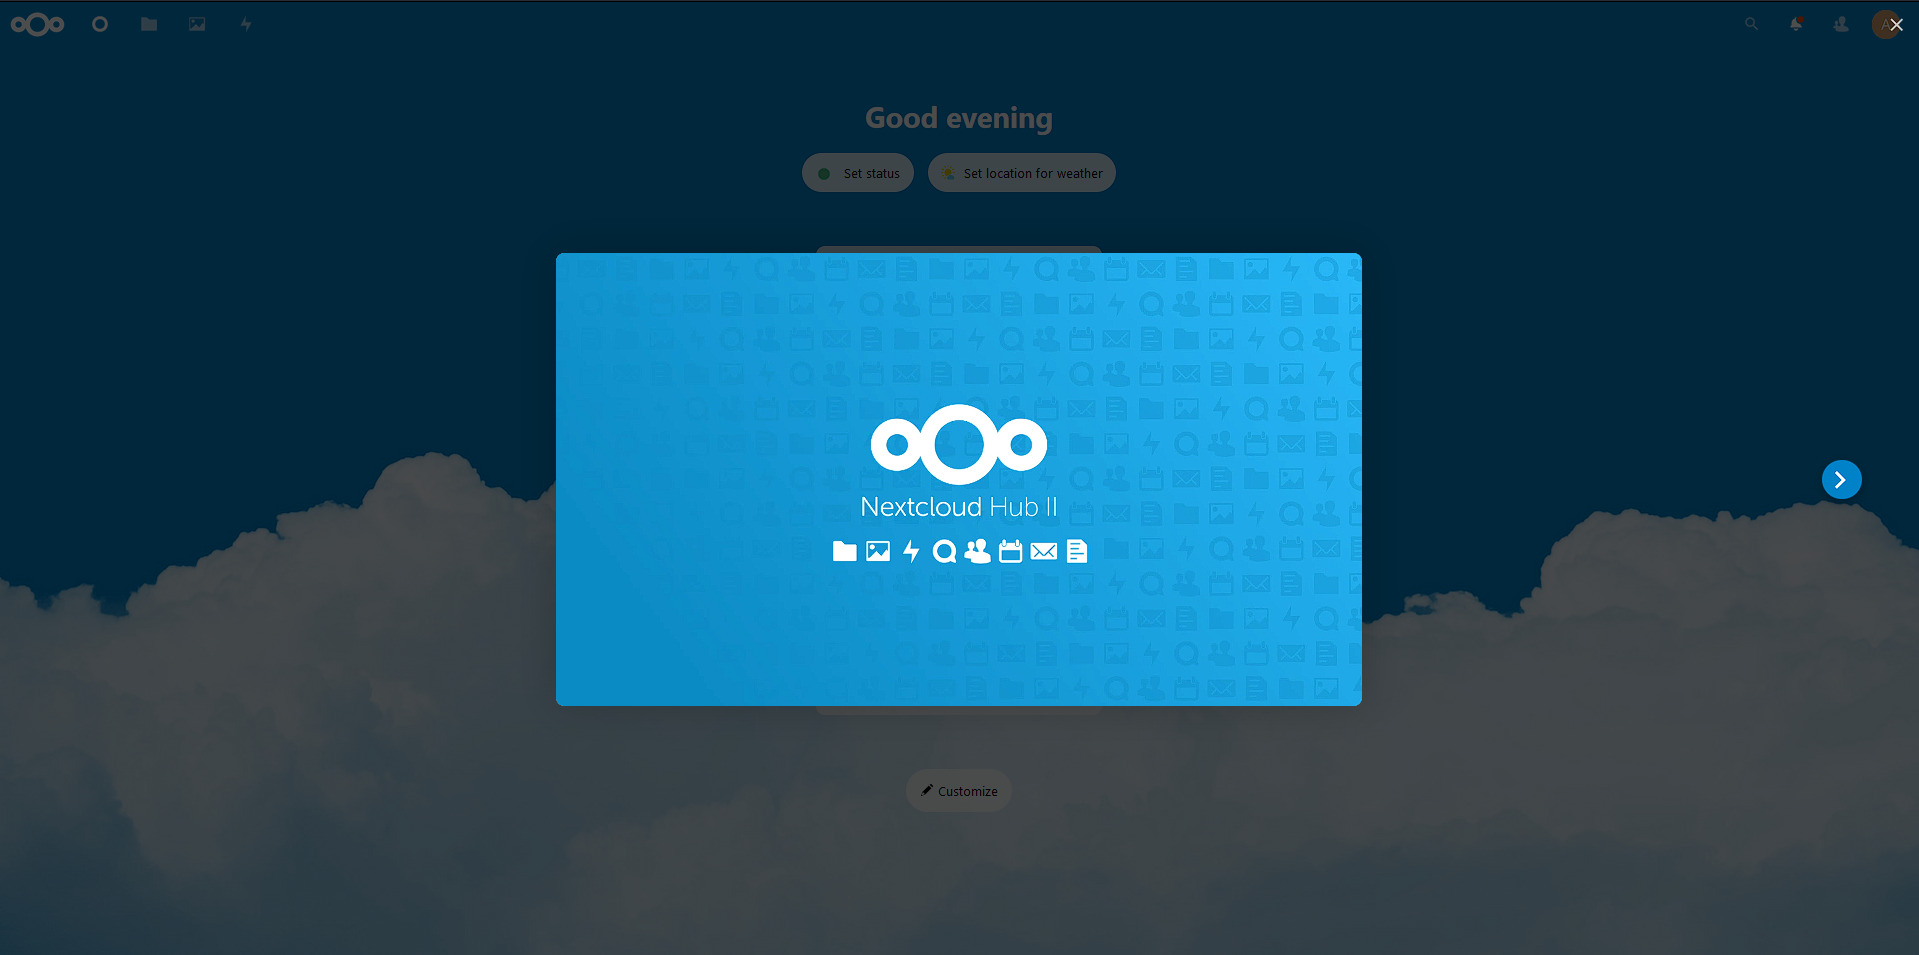
After you decide, you’ll then see this screen, which confirms you’ve successfully set up Nextcloud on your VPS! Congratulations on the successful Nextcloud VPS install (and for making it through this tutorial).
You can check out more tutorials, or spin up another VPS server to tinker with and self-host other apps.
