To use your domain in the Internet, you need to configure nameservers. The nameservers are needed to resolve the domain names into IP addresses. We recommend to use our nameservers (ns1.contabo.net, ns2.contabo.net, ns3.contabo.net) for your domains. We provide redundant servers in different data centers and you can easily manage your DNS zones over the customer control panel. But for several reasons it can be necessary to use your own nameservers.
This tutorial provides short instructions how to manage your own nameservers with cPanel and Plesk. For most domains extensions (TLD), it is necessary to use at least two different IP addresses for two different nameservers.
In this tutorial we are going to use the domain “yourdomain.com” and want to use the nameservers “ns1.yourdomain.com” and “ns2.yourdomain.com” with the IP addresses “1.1.1.1” and “2.2.2.2”.
cPanel
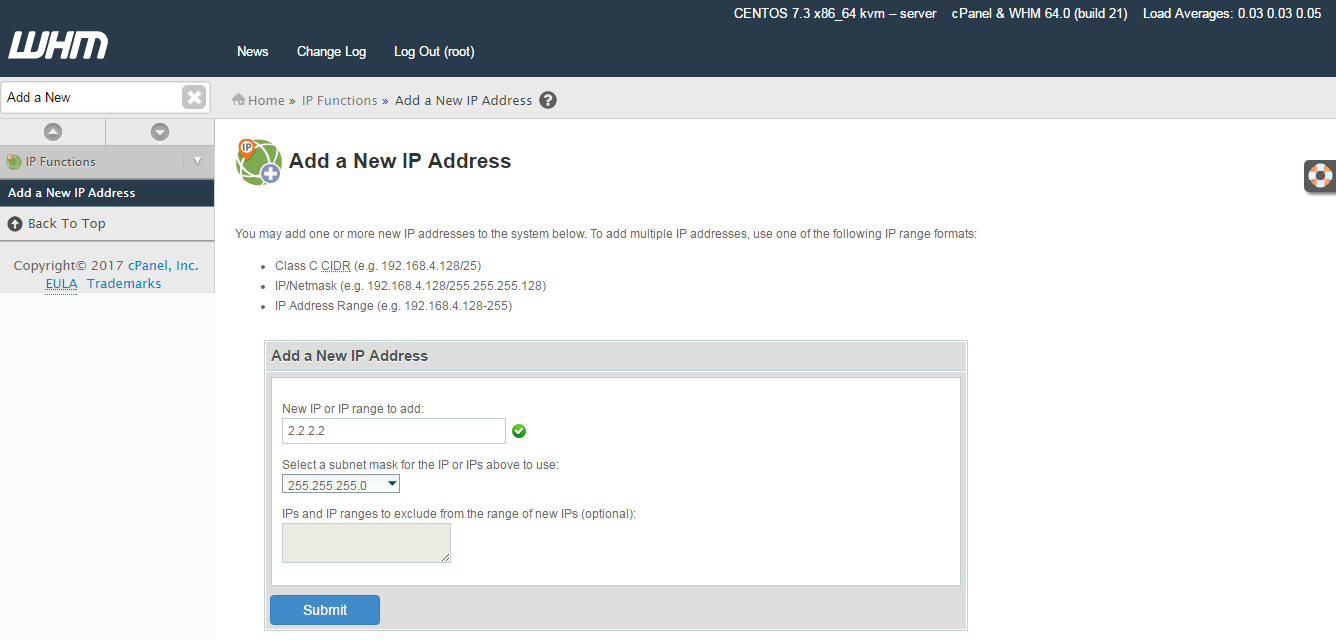
To use an additional IP address for a second nameserver, you will need to add the IP address in WHM at “IP Functions” – “Add a New IP Address”. The DNS server will be accessible on all configured IP addresses on your server. You can use different IP addresses for the nameservers than for your website.
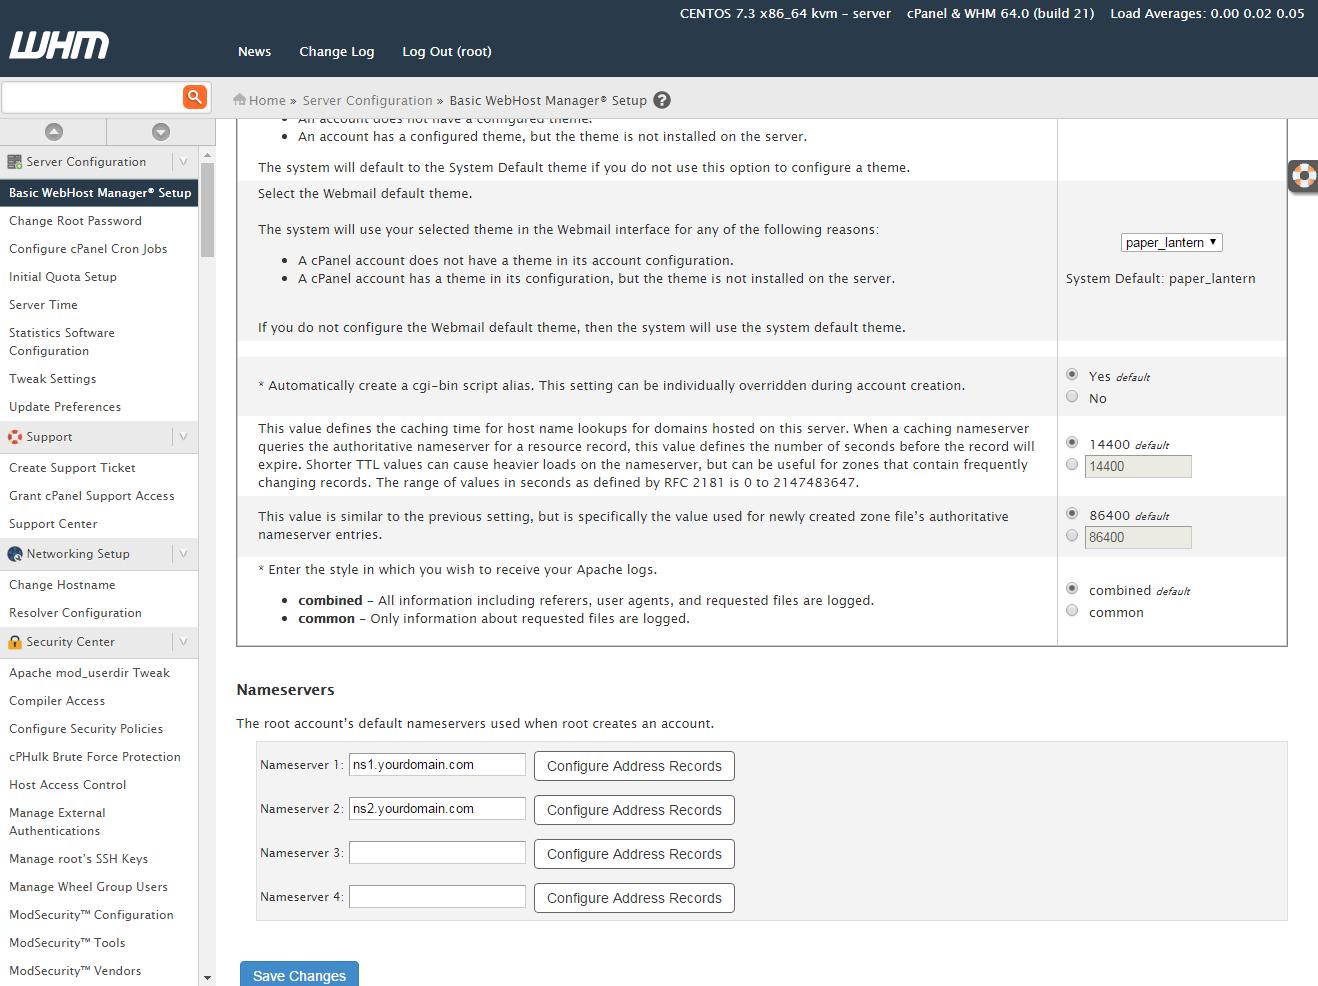
To use the nameservers with your domains, you will need to add them in WHM at “Server Configuration” – “Basic Webhost Manager® Setup”. At the end of the page you can enter the nameserver you would like to use. After you entered the nameserver, you need to select “Configure Address Records”. Please enter the IP address you want to use for this nameserver and press “Configure Address Record”. After this is finished you can close the windows using “Close”. Please note, that in some conditions — for example if the nameservers are currently configured on a different server — the entries for the nameserver will not be updated immediately. After you have finished, please press “Save changes”.
Now you can “Create a New Account” with your domain at WHM – “Account functions”. The configured nameserver will be used in the configuration of your new account and the DNS zone will be created with default values. You can see all DNS entries at WHM – “Edit DNS Zone”.
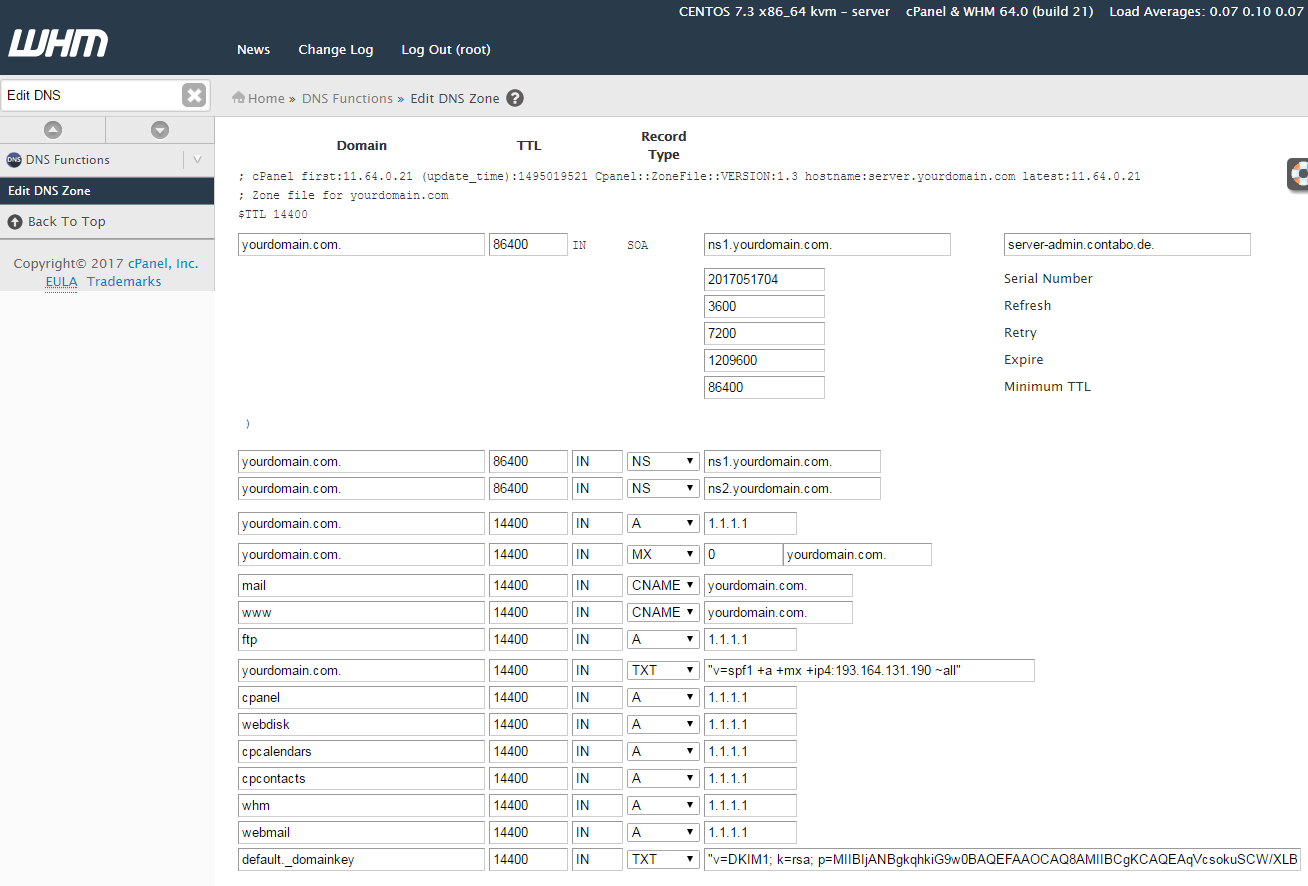
On this page you can manage all DNS entries of your domain. Most entries are for internal usage and should not be changed. To manage user defined values, we recommend to use the “Zone Editor” at “Domains” in the cPanel account.
At last, you will need to configure your domain settings at your domain registrar. You need to change the nameserver entries. If you want to use subdomains of your domain, for example “ns1.yourdomain.com” for your domain “yourdomain.com”, you will need to configure so called “Glue Records”. This means, the domain registrar does not only save the name of your nameservers, but also the IP address. In some cases it is required to configure the new IP addresses for the nameservers at the current DNS zone of your domain.
After you have finished the configuration, it can take up to 24 hours until the new settings are propagated correctly. To test your nameservers and the name resolution for your domain, you can use tools like intoDNS. This tool will test the settings at your DNS provider and of your nameservers.
Plesk
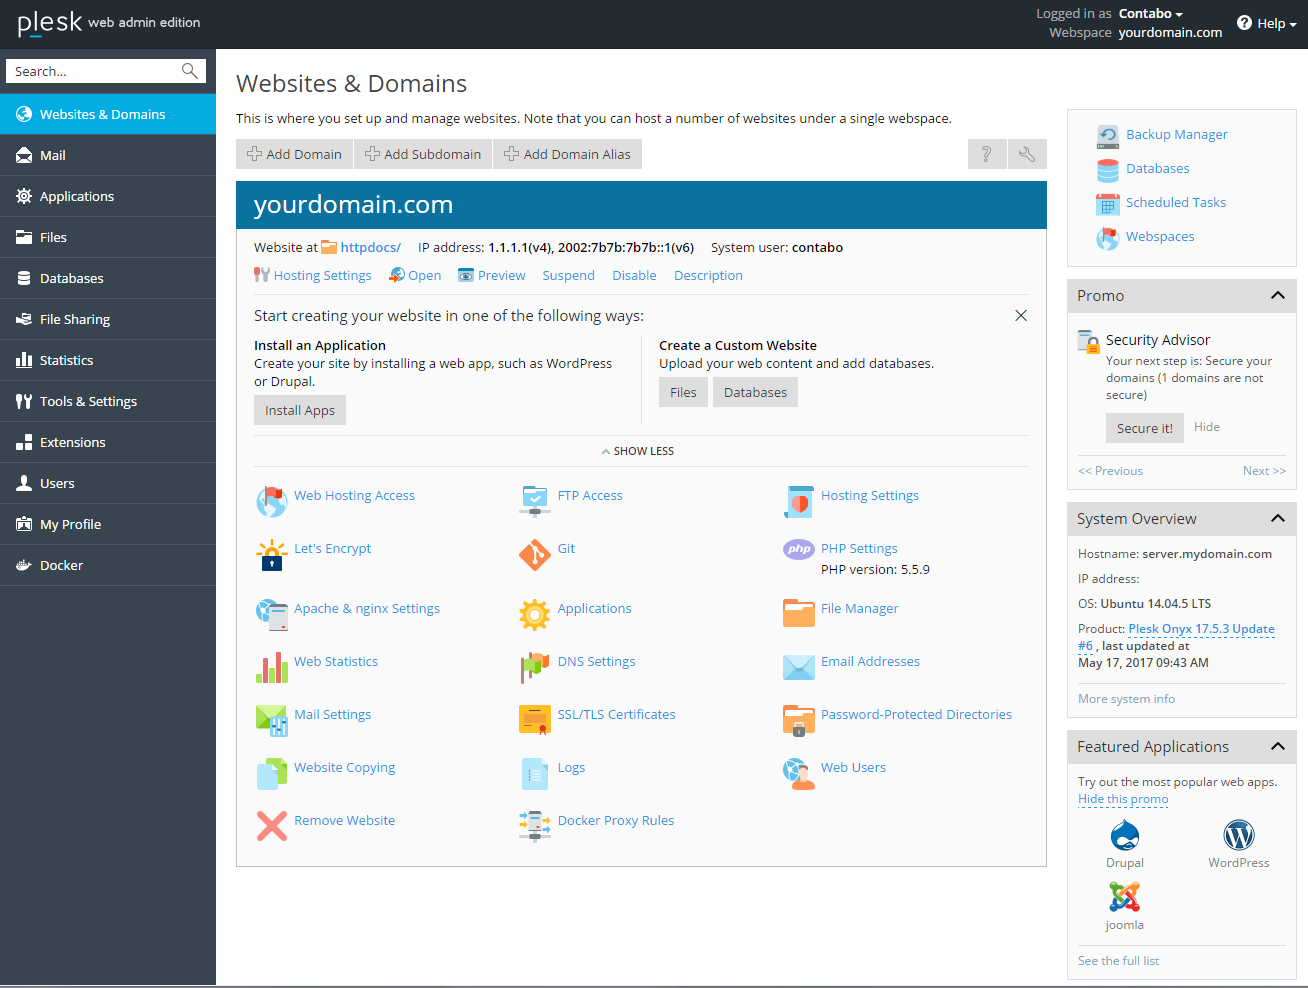
At first you will need to create your domain in Plesk. At “Websites & Domains” you can see an overview of your domains.
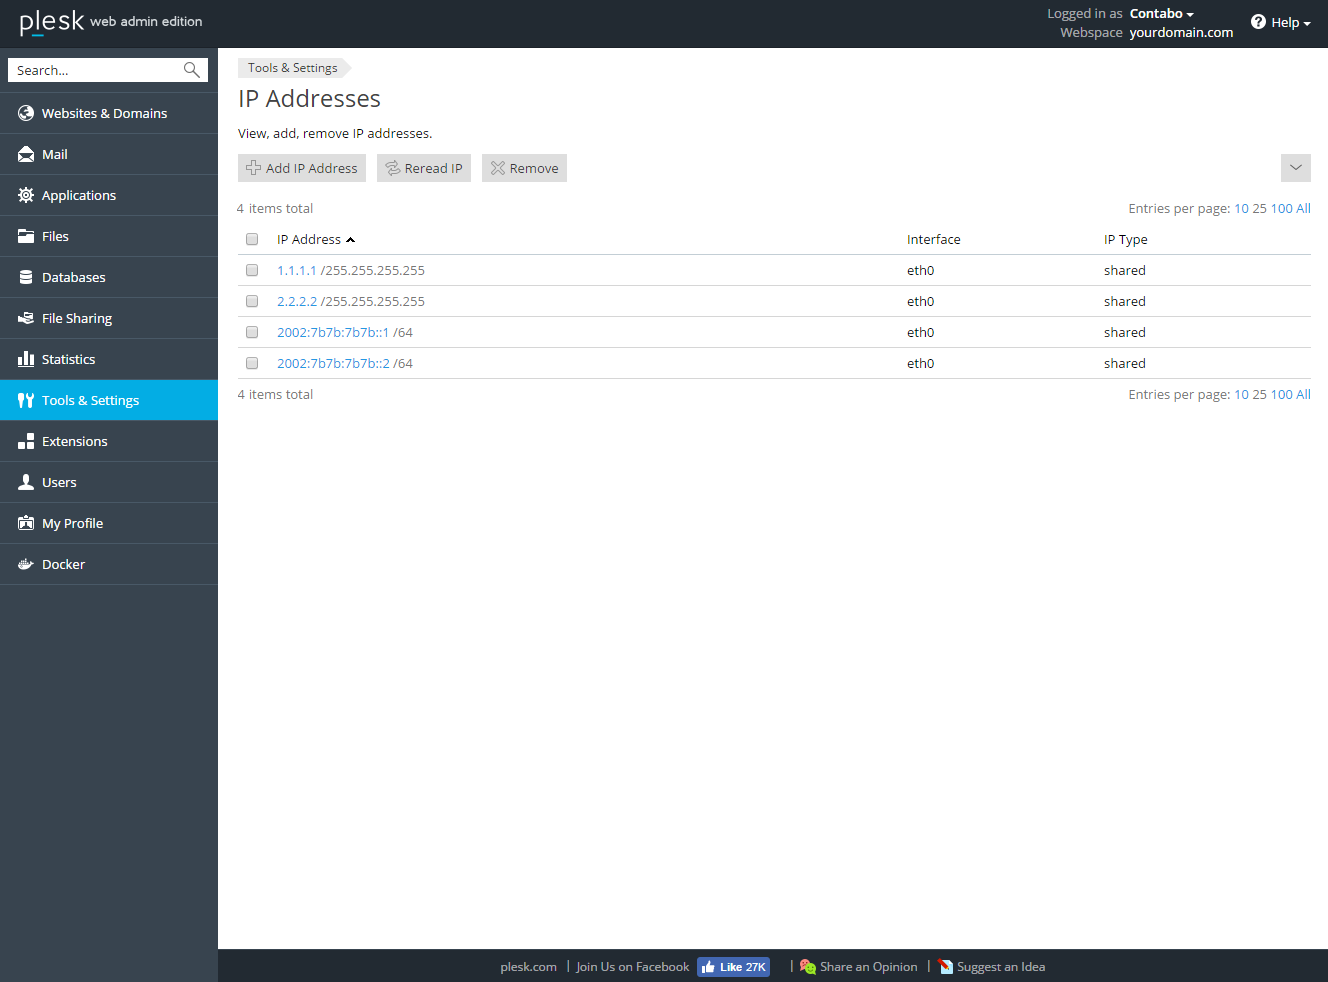
To use a second IP address for your nameservers, the IP address needs to be configured at “Tools & Settings” – “Tools & Resources” – “IP Addresses”. The DNS server responds to all configured IPv4 and IPv6 addresses. You can use different IP addresses for your nameservers than for your websites.
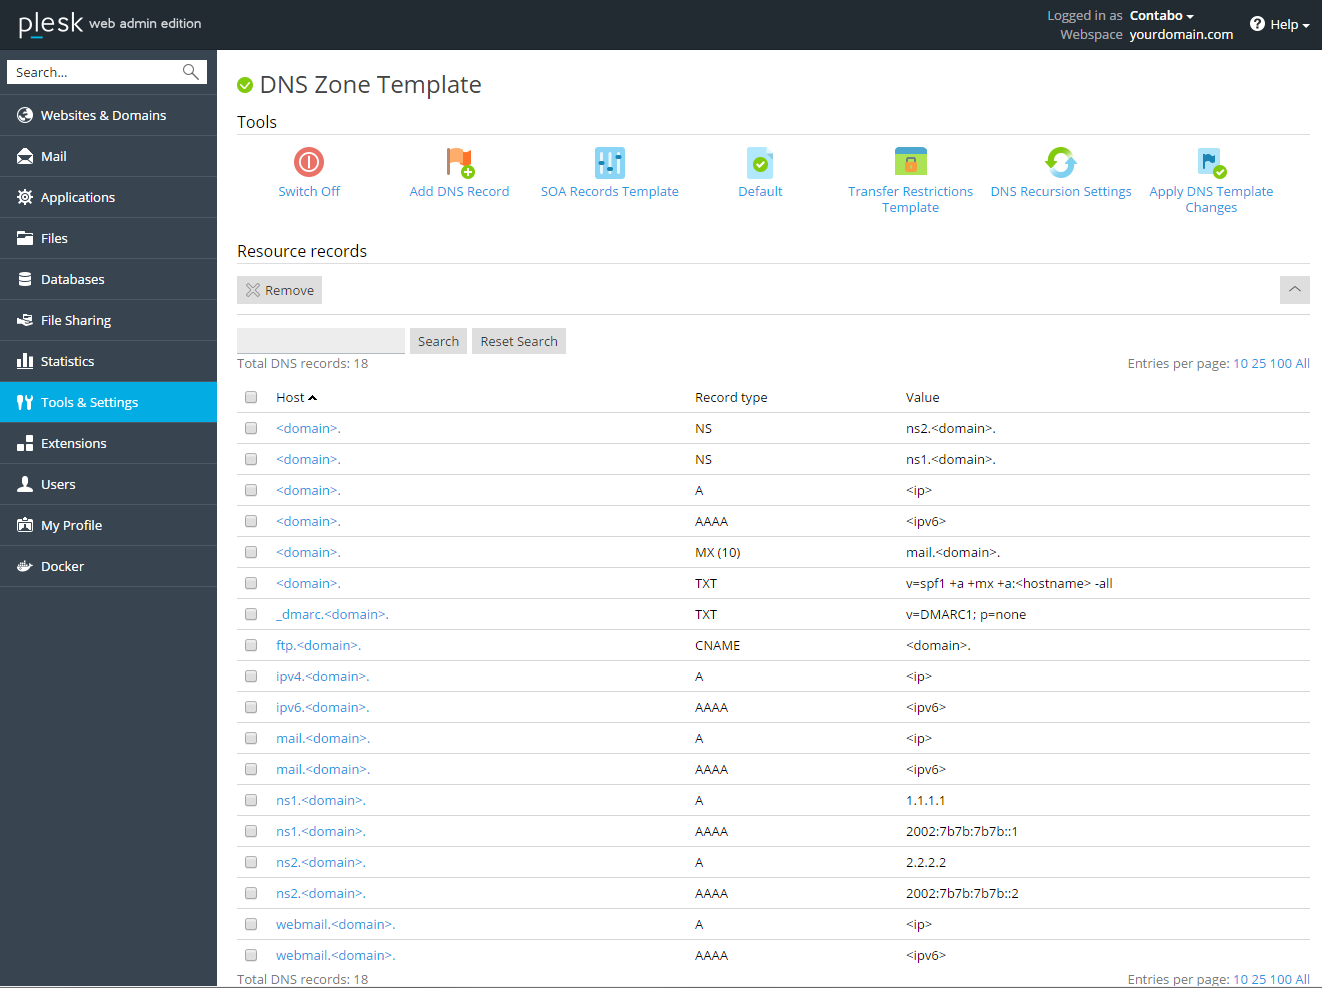
All DNS zones in Plesk will be configured based on a DNS template. You can find the settings at “Tools & Settings” – “General Settings” – “DNS Template”. In the DNS template you can configure all entries you need for all domains on your server. Beside some default entries and entries for internal services like webmail, the settings for the nameservers can be found here. By default Plesk creates two nameserver entries “ns1.yourdomain.com” and “ns2.yourdomain.com”, but with the IP address of your domain. If you want to use the same nameservers for all your domains, we recommend to change the NS entries and the IP addresses of your nameservers in the template. If you want to use different nameservers, you can also change these settings later in the DNS zone of your domain. After you have finished the configuration of the DNS template, you will need to apply the DNS template to all domains.
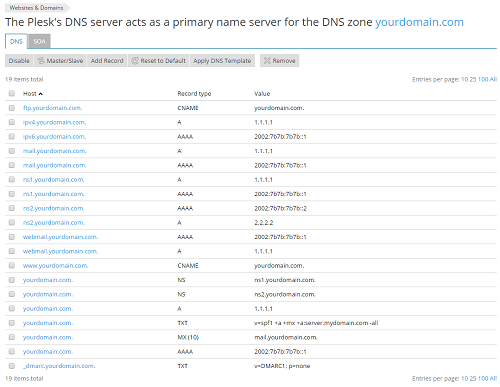
Now you can see the new settings also in the DNS zone of your domain. You can manage the DNS zone at “Websites & Domains” – “yourdomain.com” – “DNS Settings”. There you can add, edit and delete DNS entries.
At last, you will need to configure your domain settings at your domain registrar. You need to change the nameserver entries. If you want to use subdomains of your domain, for example “ns1.yourdomain.com” for your domain “yourdomain.com” as your nameservers, you will need to configure so called “Glue Records”. This means, the domain registrar does not only save the name of your nameservers, but also the IP address. In some cases it is required to configure the new IP addresses at your current DNS zone of your domain.
After you have finished the configuration, it can take up to 24 hours until the new settings are propagated correctly. To test your nameservers and the name resolution for your domain, you can use tools like intoDNS. This tool will test the settings at your DNS provider and your nameservers.
