
Timezone configuration is a critical aspect of any server setup, ensuring accurate time representation and synchronization across various applications and services. Whether you’re managing a Virtual Private Server (VPS) or a Dedicated Server, knowing how to change the timezone is a fundamental skill for every system administrator and server owner.
In this guide, we’ll provide simple step-by-step instructions, empowering you to synchronize time accurately and streamline server management. Get ready to wield complete control over your server’s time settings like a pro. Let’s begin!
Linux
In order to change the current timezone on your VPS or Dedicated Server connect to your server as root via SSH
To check the current date, time and timezone use the following command:
dateOn my server the output is the following:
Mon 7 Aug 2023 04:00:00 AM CEST
As you can see, the current timezone is Central European Summer Time.
To configure a different timezone use the following command:
timedatectl set-timezone [new/time_zone]
The available time zones can be found in /usr/share/zoneinfo/

If you go into the “Europe” folder and execute “ls” you will see ever city that is available to choose from:

In our example we will set the timezone to Europe and Berlin. To do so, execute the following command:
root@server1:~# timedatectl set-timezone Europe/London
After the timezone has been changes, the output of the “date” command will be the following:
Wed 11 Sep 2019 09:14:07 AM BST
Windows
In case you are running Windows Server on a VPS, please contact our support team ([email protected]) as there will be some further adjustments required to keep the changes permanently. One of our technicians will then gladly apply the new configuration.
To get started, connect to your server using RDP. If you need help with that check out our Guide on “How to connect to my server using RDP“
Now press [Windows] + [R] to open the run dialog. Alternatively you can open the search bar by pressing the Windows-key and type in “run” followed by pressing [Enter]
Now paste in the following command:
reg add "HKEY_LOCAL_MACHINE\SYSTEM\CurrentControlSet\Control\TimeZoneInformation" /v RealTimeIsUniversal /t REG_QWORD /d 1 /fExplanation: Windows always takes the time from the BIOS clock, and the host server has only one BIOS
clock. Therefore all VPS have the same time zone set. This command creates a QWORD (64 Bit) Value in “HKEY_LOCAL_MACHINE\SYSTEM\CurrentControlSet\Control\TimeZoneInformation” called “RealTimeIsUniversal” and sets the value of it to “1“. This will allow the timezone of your instance to be different from the hostsystem ones.
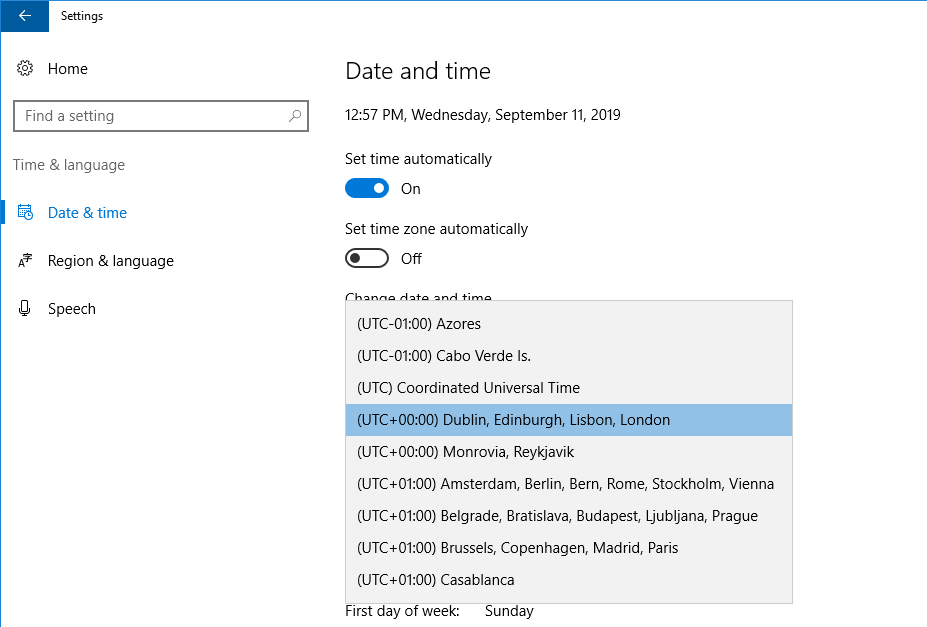
To continue open the settings by hitting [Windows] + [i] or search for “Settings” in the search bar.
Now you can set the new time zone in “Time & Language” -> “Date and Time“
For the new changes to take effect, restart your server.
