User rights is one of the first concepts you have to understand when dealing with Linux. This guide is ideal for users who just installed their first Linux on the computer, or for users who are starting out with their first Linux server. We wrote this article in mind to help our customers as well as any other Linux newcomers.
Video
The Root User, Regular Users and System Users
Let’s start by explaining the basic admin structure in Linux. There are three basic types of users in Linux – the powerful root user, system users and regular users. Root is the super user role created to manage all other users and perform critical actions, such as deleting folders, updating system, connecting to other computers and myriad of others. Root can also assign rights on various levels to all other users.
If you are logged in as “root”, you have the right to perform virtually any action on your Linux. Log in to your system as root is useful in certain situations when you want to perform important system changes.
If your username is not “root”, then you’re by default restricted from executing important actions. If you try to execute such command without the necessary rights, Linux will just refuse your command.
Your default user in Linux depends on your installation. For example, most Contabo VPS, VDS or Dedicated Servers running Linux use “root” as default user.
Besides regular users and the root user, there are many system users who were added by the operating system. System users are necessary for Linux to work properly on the background. This type of users are processes, not real users and you can’t use the username to log in.
Are You the Root?
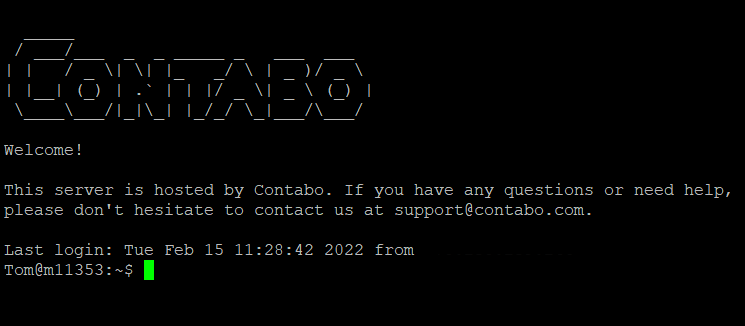
To quickly double-check if you’re login in as a root or not, simply take a look at the command prompt. The first word before the at (“@”) sign is the name of your user. In this example it’s “Tom”:

And in this case, we’re logged to the same server as a root:

Alternatively, you can use this command to print the current user’s username on a new line. The command is a compound of the question “Who am I?” in the following syntax:whoami
Central User Database
Linux saves information on all users in the form of a text file.
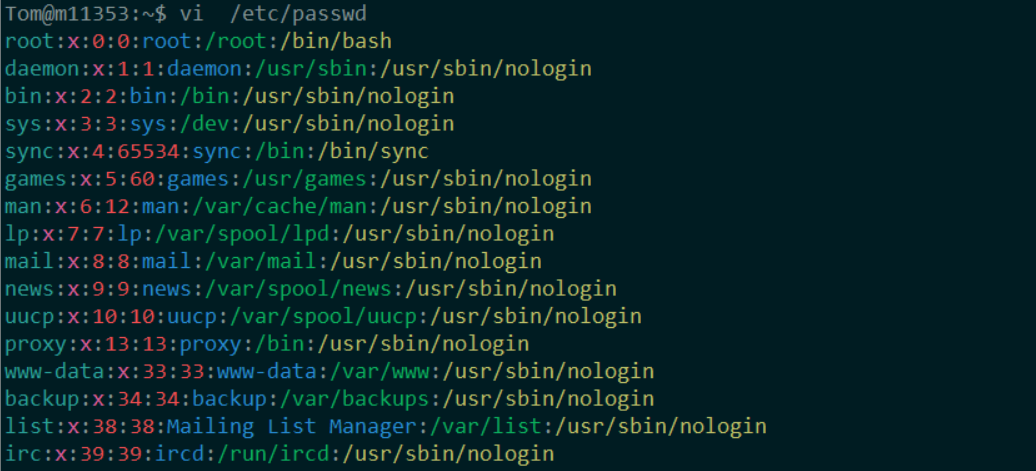
The list of users is located in a file named passwd, in your /etc folder. We will use the “cat” command to browse the file. The cat command is somewhat comparable to a double-click in Windows:cat /etc/passwd
You will see a long list of users, similar to this picture:

You may wonder, why there are so many users on your system unbeknown to you. That’s because most of the users in this file are system users automatically created to run background processes.
Let’s take a closer look at the format of this document. The third column of every user contains so called user ID.
The user ID for root is by default 0.
Values 1 to 500 are reserved for system users.
Values starting from 1000 are reserved for regular users. If Linux won’t receive any other instructions, new users will be added consequently with ID numbers 1000, 1001, 1002, 1003 and so forth.
Becoming a Superuser
Note that the commands in this guide are optimized for Debian-based distributions, such as Ubuntu or Linux Mint. In case you’re using another Linux family, such as Oracle Linux or Fedora, you have to install or modify some of the commands.
To become a super user, you have to log in as “root”.
But even if you’re not currently logged in as “root”, you can elevate your rights temporarily. The feature to assume superuser rights is called sudo and allows you to perform the same actions as if you are the administrator.
All you have to do is to type “sudo” before the command that requires super user privileges. For instance, this command will update the system:sudo apt-get update
If you try to run this command without sudo, Linux will return the command as “Access Denied”.
But writing the sudo command at the beginning of each command can be repetitive. To get super user rights for the whole session, try the command:
sudo -i
There is no need to type sudo before every command anymore. Note that even your command line will change to root:

By becoming a superuser, your ID will just change from your original value to 0, as described in the previous section. You can check your current user ID by prompting the command:id
In this particular example, the user Tom has become a super user and his user ID changed from 1001 to 0:

The sudo -i feature will last until you logout from your system. If you want to become a regular user again during your session, just execute the command:exit
But not every user is allowed to use sudo to elevate their privileges. In the next chapter we will discuss how to manage the superuser rights.
Managing Sudo Permissions
Not every user is allowed to use sudo. Here’s an example of a perfectly fine command that was rejected because the user is “not allowed to run sudo”:

How to Give Users Permission to Use Sudo
In order to turn on the sudo function, the respective user has to be added to a list of users who have permission to do so. Only users who already have access to using sudo can add other users to this list.
Let’s give “Cordelia” the permission to use sudo by prompting:sudo usermod -aG sudo Cordelia
Now the user Cordelia can use sudo for any command.
How to Remove the Permission to Use Sudo
If we no longer wish to permit Cordelia to become a superuser, we can remove the access by prompting:sudo gpasswd -d Cordelia sudo
The user will remain active, but without the ability to perform actions as root
Where to Next?
In this tutorial, you learned a few essential skills to manage the root and sudo rights. We encourage you to dig deeper and learn how to fine-tune user’s rights on a more granular level.
